Since November 19th 2025, Veeam officially launched its version 13 and one of the highlights is definitely the release of the Veeam Software Appliance v13 (VSA). This is basically Veeam Backup & Replication (VBR) running as an appliance with Rocky Linux. Super easy to deploy with the OVA or install using the ISO.
Another appliance that comes with it is the Veeam Infrastructure Appliance (VIA). This is a small Linux appliance that can be used to deploy most Veeam components such as Proxy, Hardened Repository, Gateway and more. Now with Veeam Cloud Connect v13 (VCC) being generally available, you can finally swap those Cloud Gateways from Windows to Linux! This means that basically the only Windows you still need is the Veeam Cloud Connect server itself, how cool is that!
Let’s go ahead and do just that!
Before we start
First of all it’s always very important to read the system requirements and considerations and limitations.
What we can see here immediately is that VCC Gateways can only run on the Veeam Infrastructure Appliance or RHEL 9.6. Not just any random Linux distribution!
Also not every role is supported to run on a VIA. For example you can replace your Cloud Gateways, Proxy Servers, Wan Accelerators, but your Tape Server must still run Windows.
In the lab my current Windows Cloud Gateways are specced with a simple 1 vCPU, 4 GB RAM and 100 GB disk. If we want to turn them into the Veeam Infrastructure Appliances, it is important to know that for the disk layout, we actually need 2 disks of 120 GB each as a minimum or it won’t deploy! It doesn’t mean that all of the storage will be use (unless you use thick provisioning). In my lab after deployment it turned out to use ± 4 GB only!
Networking
In a general Cloud Connect environment, a Cloud Gateway has 2 network interfaces:
- WAN: the public interface on which the internet traffic from remote clients arrives,
- DMZ: the internal interface through which the VM and service are managed, components are installed, updated, DNS lookup happens and backup and replication traffic is sent.
In my case I’m using the following setup:
- WAN = VLAN 32 with subnet 10.0.32.x/24
- DMZ = VLAN 33 with subnet 10.0.33.x/24
This is important, because during the installation, we have to configure both NICs as well as manually add the some static routes in order to get the correct traffic (as mentioned above) flowing throughout the correct interfaces.
Hardware
My current Windows (virtual) machines are specced as follows:

The new Linux VM(s) running the VIA will have the same configuration, except that it will have 2x 120 GB disks as is required.

Installation
The installation itself is pretty straight forward: Hit install and wipe all disks, done!
I will not go through the full guide, but only through the non-default steps important for my configuration.
For a full guide with screenshots, please check the User Guide.
Installation – Step 6 – Network Settings
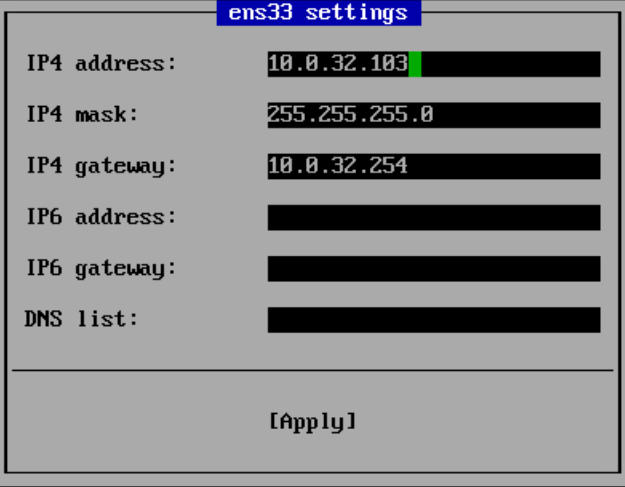
The WAN Interface only gets a static IP and gateway IP, nothing else.
The DMZ interface gets a static IP and the DNS servers set, nothing else.
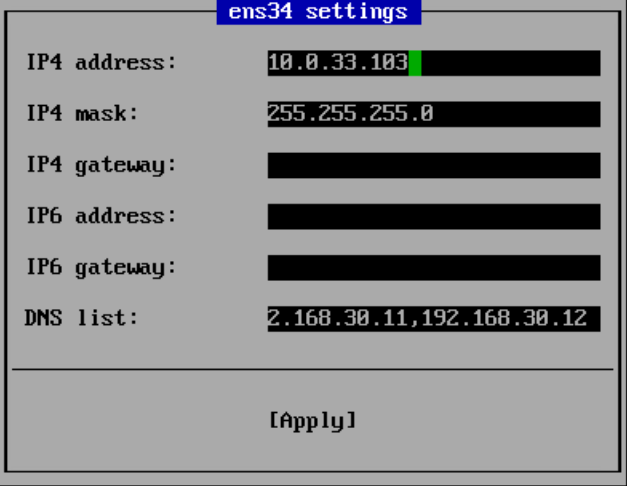
Why do we do this? Because we do not want DNS lookups for internal records to go across the WAN interface, but traverse the internal DMZ interface.
That makes sense, but how about all traffic?
Since the default gateway is set on the WAN, all traffic will be routed via that interface.
Correct! For this we will add manual static routes in the advanced config.
Installation – Step 6 – Advanced Config – Static Routes
Go to Advanced and you will the something like this:
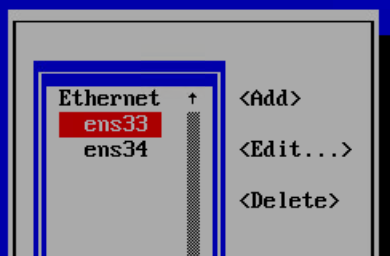
Select the DMZ interface, ens34 in my case, and go to Edit on the right side:
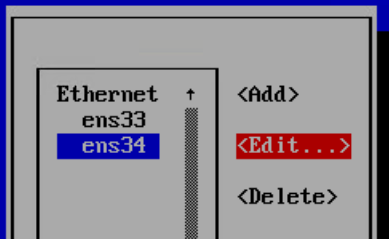
Once you hit Edit, you will end up on the Edit Connection screen. Tab your way down until you hit the line where it says Routing and Edit:
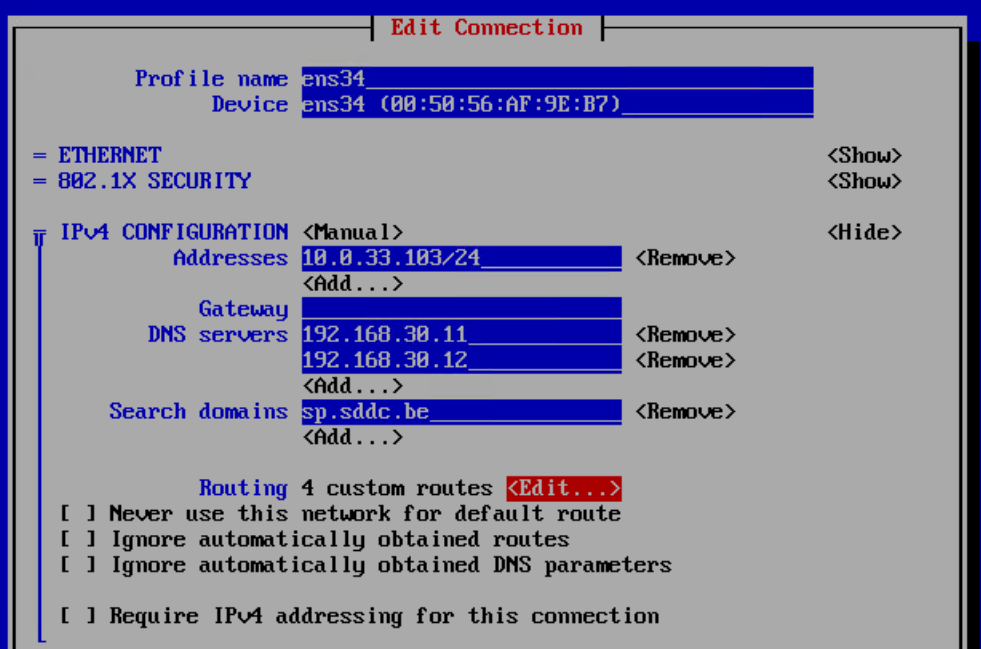
For my environment I’m adding 4 static routes:
- 10.0.34.0/24 next hop 10.0.33.254 metric 10 (= management traffic)
- 192.168.30.0/24 next hop 10.0.33.254 metric 10 (= DNS traffic)
- 10.0.36.0/24 next hop 10.0.33.254 metric 10 (= backup data traffic)
- 10.0.37.0/24 next hop 10.0.33.254 metric 10 (= replication/cdp data traffic)
Basically what I’m saying here is:
- Use gateway 10.0.33.254 in the DMZ network to reach other VCC Components (e.g. VBR/VCC Server), do DNS lookups as well as send all backup and DR traffic over this interface directly to the backup repositories and backup proxies.
- This to avoid any internal traffic going back out the WAN interface.
Once set, Tab your way down and hit OK to store the settings.
Finalizing the installation
Next we will set up the Timer Server, Host Administrator account and the Security administrator account, both including MFA.
Note: For the lab you can skip the Security administrator account as well as disable MFA for any account later on via the Host Management Interface (Web UI). Do not do this in production!
Once finished, we are all set with the configuration and can go into the Web UI:
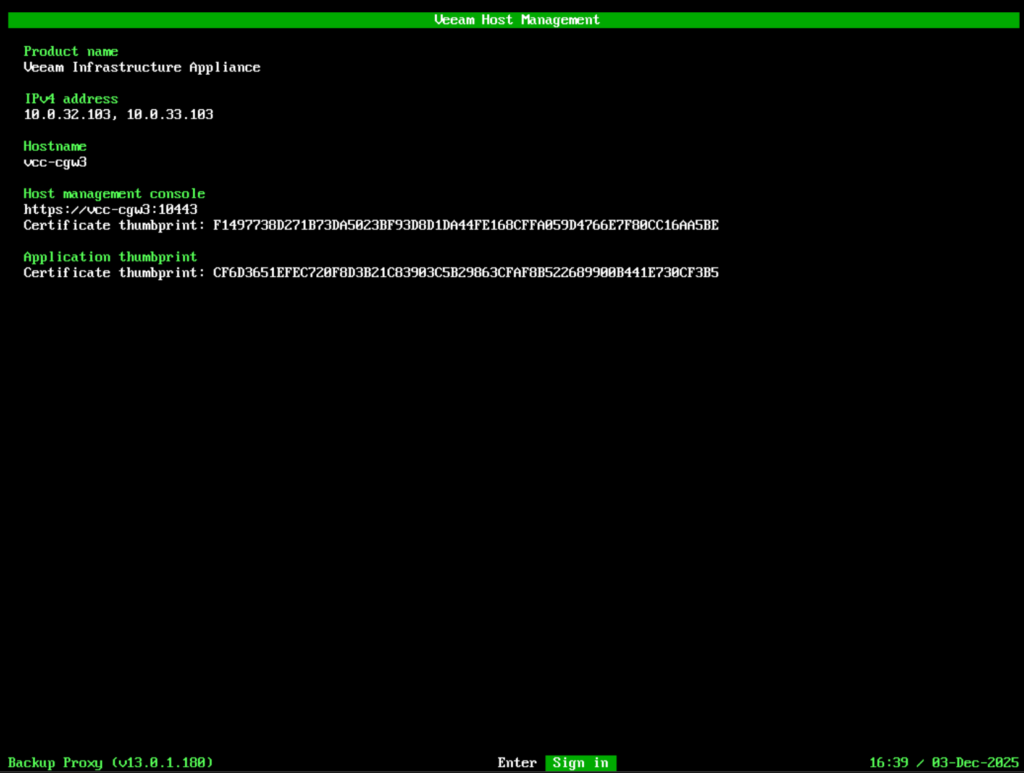
Log in to the Host Management Interface
Via the vCenter Web or Remote Console
If for some reason you cannot login to the Web UI, you can always double check or edit your configuration via the vCenter Web Console or Remote Console.
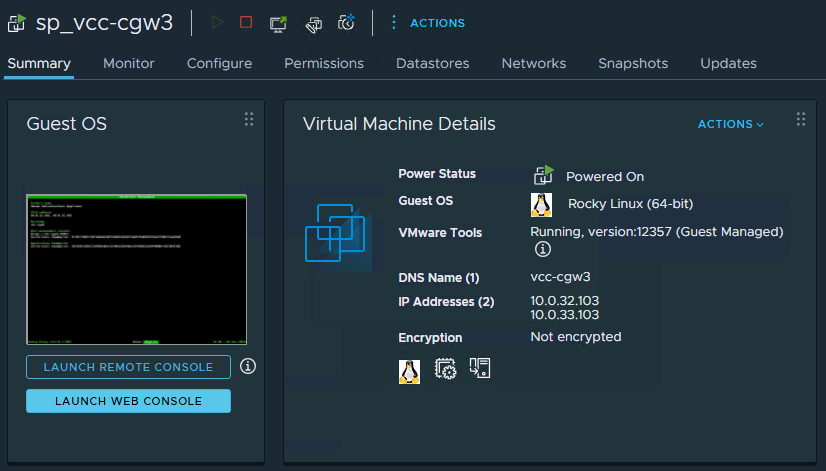
Via the Web UI
When all is set, we can visit the Web UI via https://<your-gateway-ip-or-fqdn>:10443 and verify some items.
Enter the username veeamadmin, password and MFA code and hit Sign in.
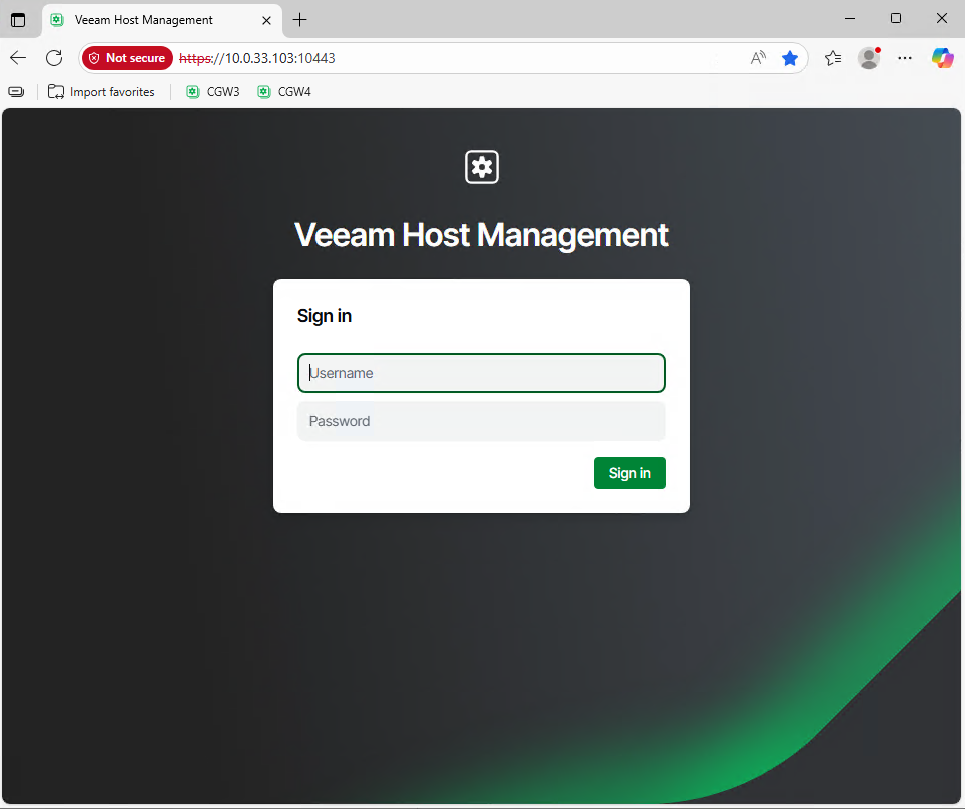
Here we can verify/change several items such as:
- Network configuration
- Time Servers
- Allow Remote Access to connect to the VCC Server
- Add/Remove/Unlock users or disable MFA for a particular user
- Look for Updates and install them
- Check the logs and services statusses
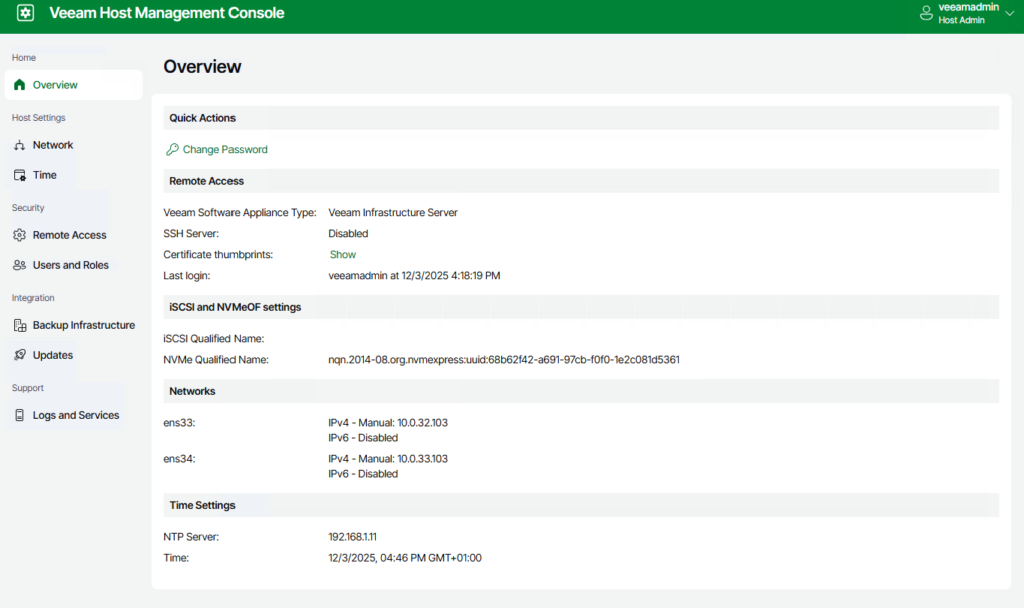
Everything seems to be good here, let’s quickly check for Updates so that the appliance is fully up-to-date and then we will connect it to the VCC Server.
Check for Updates
Updates on this part, could not be easier. All you have to do is click the Check for updates button and install them. The rest goes automatically.
In case you forget to install updates, system and security updates are mandatory and will be installed automatically anyway! That way you can always be sure the system is patched.

If you are curious, hit the What’s new button to see what needs updating:
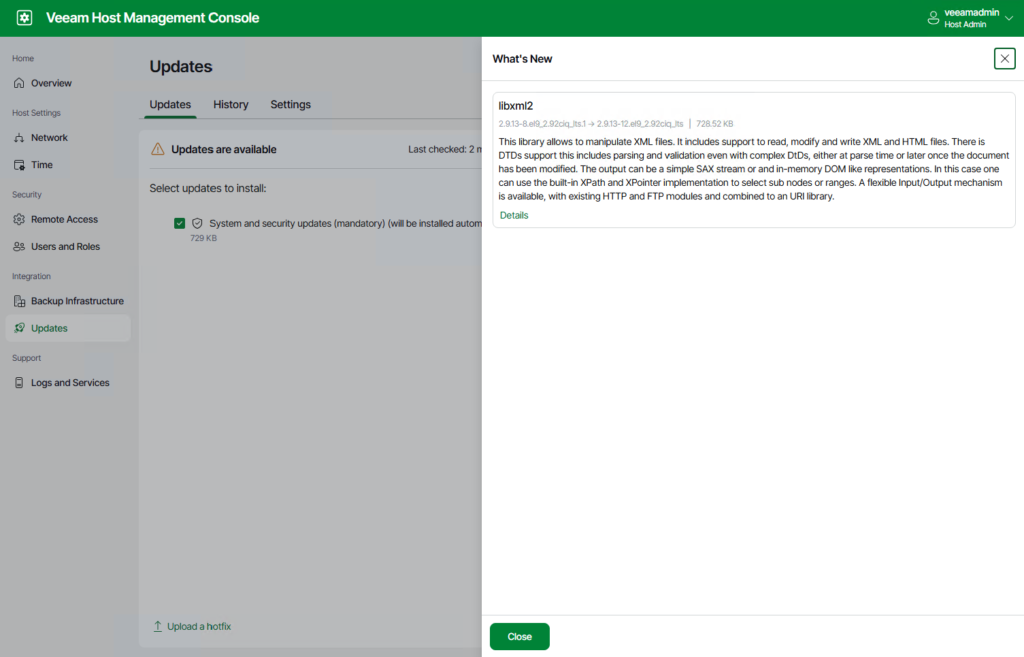
Click Close to return to the previous screen and click Install Updates Now. Hit Confirm and sit back and relax.

You can now follow the entire process. We wait a few minutes, then hit Finish, and then we can finally go and add the Cloud Gateway appliance to our VCC v13 server!
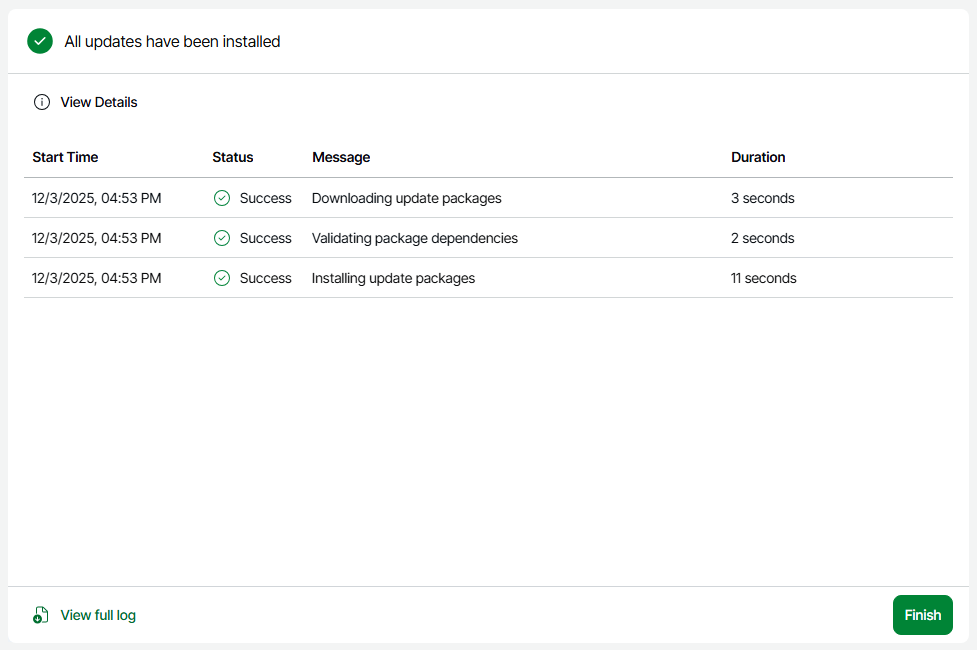
Repeat the same process above for each Cloud Gateway you deploy.
Add the machine to Veeam Cloud Connect
Now that everything is deployed and updated, we can go to the VCC Console and add the new VIA server(s) as Managed Servers as a first step. Second, we will assign them the Cloud Gateway Role.
Normally you can do this directly from the Cloud Gateway wizard, but for clarify we will do it in two steps.
Step 1 – Add as Managed Server
In Veeam Backup & Replication go to Backup Infrastructure -> Managed Servers -> Add Server either via the menu on the top left or by right-clicking on Managed Servers.
As you can see, we can either add the supported Linux Server(s) or we can select the option to add a Veeam Infrastructure Appliance directly from the wizard.

Once you click, the wizard to add a new Linux Server will appear. Enter the DNS name or IP address first. Do not click Next yet in the screen below!
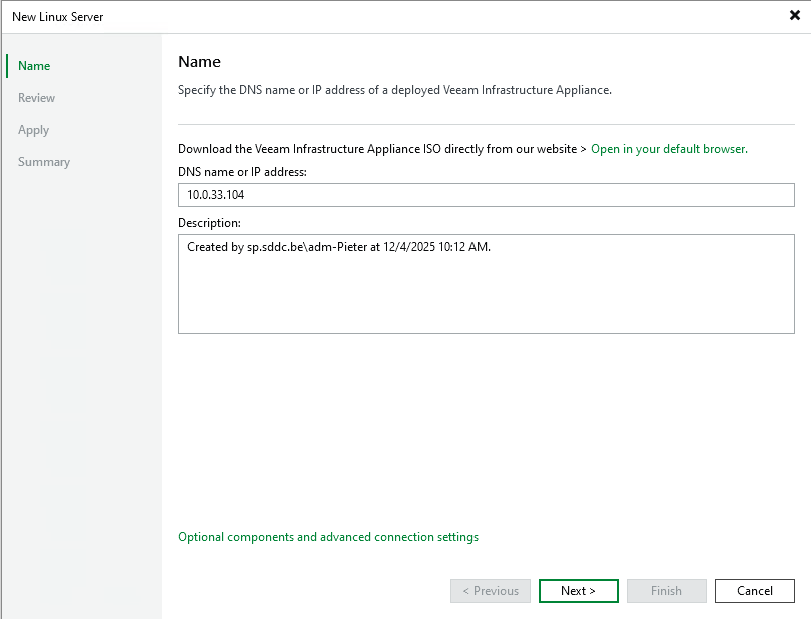
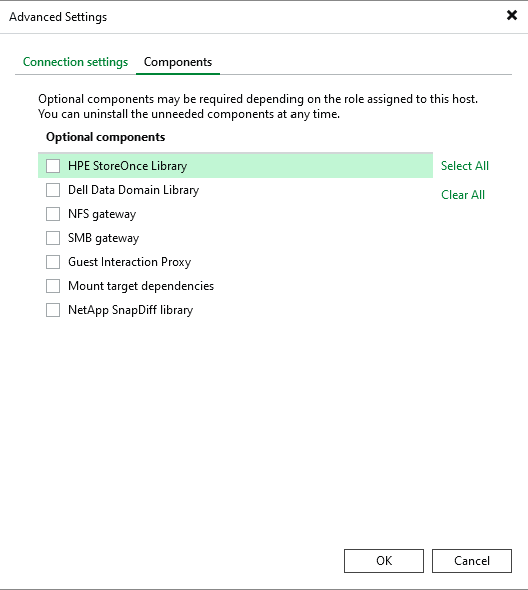
At the bottom of this screen you can see something interesting “Optional components and advanced connection settings“.
Click on this option and open the Components tab.
Here you can see all components that will be deployed by default on the machine. This is something new in v13! Since this machine will be only a Cloud Gateway and we will not assign any other role to it, we will unselect all components to reduce its storage and security footprint. Then hit OK and click Next to continue the wizard.
Up next it asks us to verify the TLS key certificate fingerprint. We must make sure that it matches with what we deployed and then we can click Yes to trust the server.

The quickest way to check is via the vSphere Web Console, but you can also login to the Veeam Host Management Web UI and gather the information there.
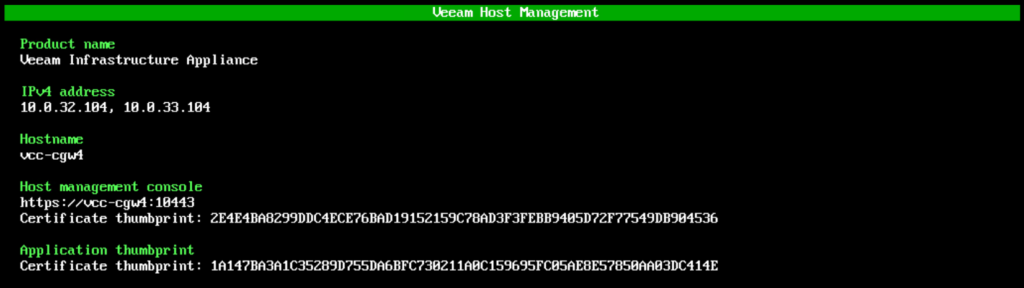
We can see that they match so all is good! Let’s click Yes in the wizard and continue.
Then we review the components that will be installed and click Apply to process and finish the wizard.
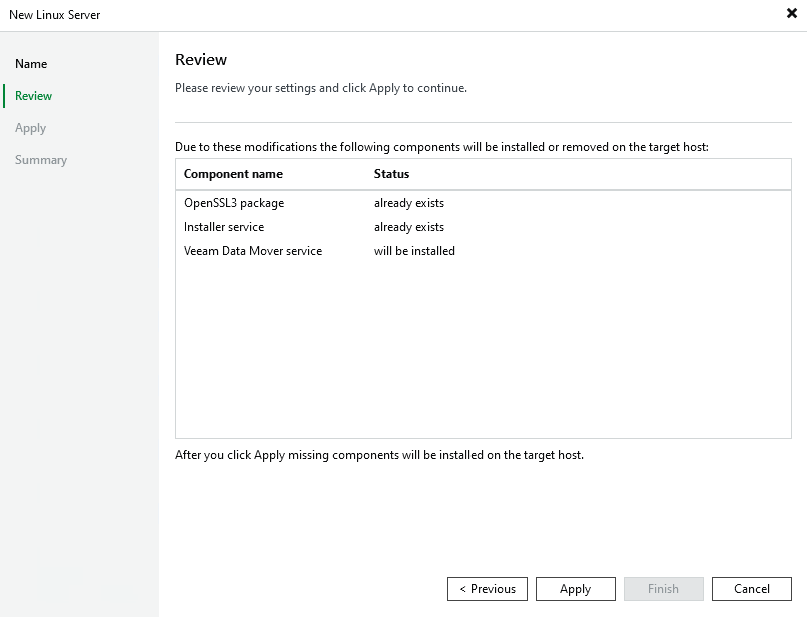
As you can see, it will only install the Veeam Data Mover service and that’s it!
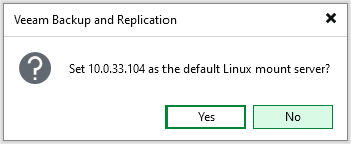
After adding it, a popup will appear to set the newly added server as the default Linux mount server. Since we only want to use this one as Cloud Gateway, select No.
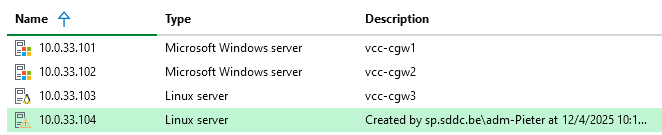
As you can see, now we’ve got our 2x original Windows-based Cloud Gateways and our 2x new Linux-based (VIA) Cloud Gateways added to the VCC Server. Awesome!
Step 2 – Assign the Cloud Gateway Role
In Veeam Backup & Replication go to Backup Infrastructure -> Cloud Connect-> Cloud Gateways and click on Add Gateway to start the wizard.
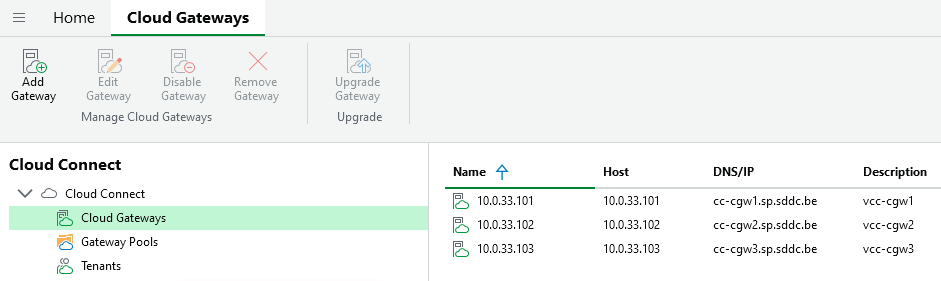
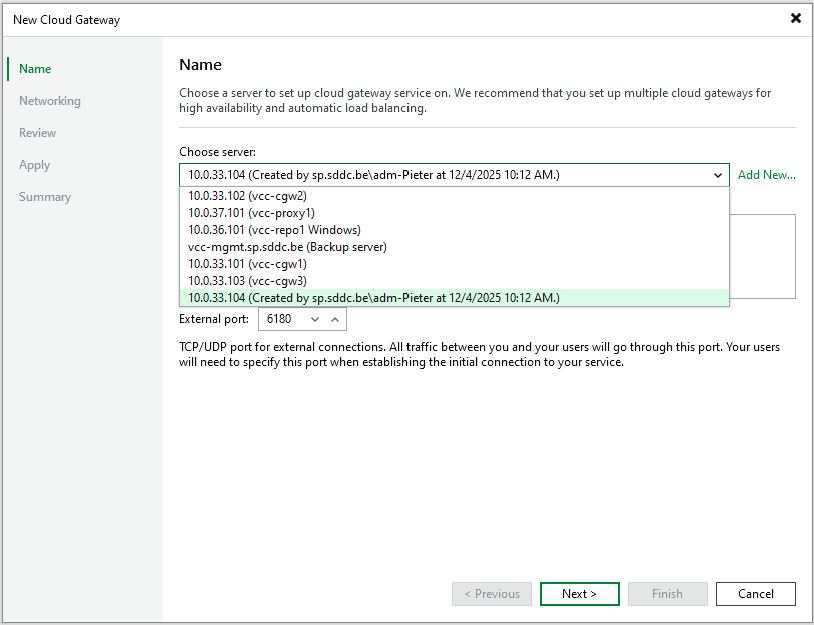
Next we need to choose the server to set up the Cloud Gateway service on. This is easy as we’ve already added it as a Managed Server. Select the server and click Next.
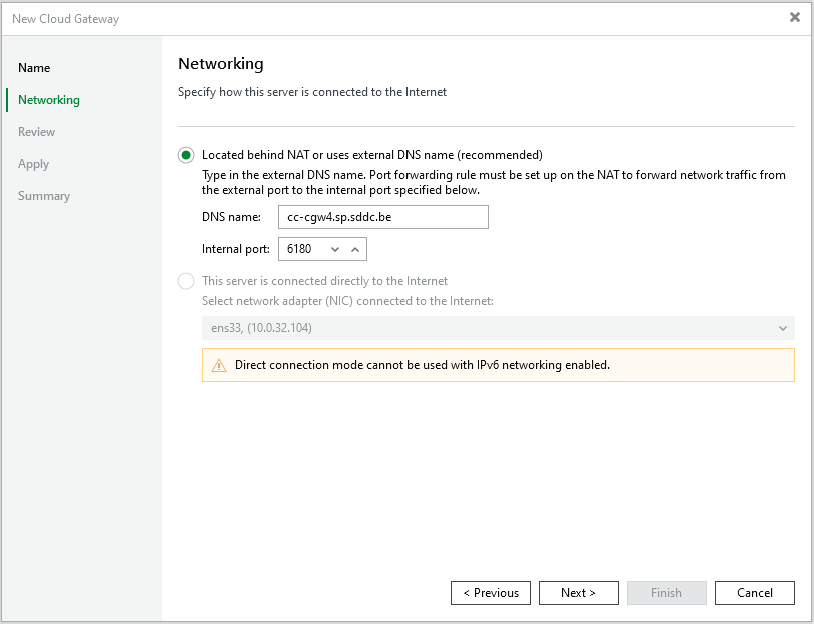
Under Networking, we need to set the external DNS name of the Cloud Gateway and the Internal Port.
We’re using the default port TCP/UDP 6180 so we leave that intact. Hit Next to continue.
Important: Do not put the generic DNS name (e.g. cloud.company.com) of your Cloud Connect service here, it must be the external DNS name (e.g. gw3.company.com) of the Cloud Gateway!
As you can see, only the Cloud Gateway service will be installed to the server. Click Apply to finish the wizard.

Beautiful, we have now added all Cloud Gateways added to VCC. In my lab there are 2x Windows-based and 2x Linux-based (VIA).

That’s it!
Step 3 – Phase out Windows-based Cloud Gateways (Optional)
Now that you’ve added the new Linux Cloud Gateway server(s) based on the Veeam Infrastructure Appliance, they all end up into the shared pool. This means that any customer sending data to your Cloud Connect environment, can use any of the available gateways.
To phase out the Windows-based Cloud Gateways, you can easily disable them one by one. Easy!

After this, I would recommend you test your VCC environment to make sure everything is operational and functioning properly. Let’s say that after a week of no issues, proceed with the removal of the servers from the VCC Server and from the (virtual) infrastructure.
Repeat to replace other machines
Repeat the same procedure to replace your (CDP) Proxy Servers and your WAN Accelerator Servers!
Thanks for reading!


Great post! Like the idea of setting up two interfaces, i don’t know if i full understand, but it looks like one is for internal traffic and the other is for external traffic, then route between them then you need external traffic to other Veeam components?
Hi James! That’s correct. The WAN interface is to communicate only with the “outside” (=remote clients). The DMZ interface is used for internal communication towards other Veeam components (backup repositories, vcc server), but also for DNS lookup, RDP and other management. Hope that makes it more clear!