On April 16th, Veeam published KB4843 with all the release information for VB365 v8.4.0.1457. As always, lots of good fixes and improvements.
Shortly after, I had my first discussion with a service provider to plan the upgrade from 8.1 to 8.4. When we browsed through the system requirements to check if anything has changed, we noticed that VB365 now supports a new version of NATS: 2.12.5.
With VB365 it is important to know that VB365 does not just support any version of NATS. The supported versions currently are listed as: Local or remote installation of the NATS server 2.10.18, 2.10.22, 2.10.28, 2.12.5.
The next question was: “Can we upgrade NATS to the latest version as well? That way we can see if it has any positive effect and also then we are on the latest supported and do not have to worry about the older versions being deprecated any time soon.”
Of course we can so let’s start describing the upgrade process!
Installed it on Windows?
This blog post will demonstrate the upgrade NATS which is installed on Ubuntu Linux 24.04 LTS. In case you are looking for how to upgrade it on Windows, please check out the official Veeam Knowledge Base article KB4742 which shows how it’s done when installed on the same server as VB365 (Windows). The procedure is nearly the same if it’s installed on a dedicated Windows machine.
In a nutshell, we will:
- Disable all backup (copy) jobs
- Stop all backup (copy) jobs
- Stop all services on the VB365 Controller
- Stop all services on the Proxy Servers
- Verify the NATS version
- Stop the NATS service
- Clear the jetstream cache
- Update the NATS service
- Start the NATS service
- Start all services on the Proxy Servers
- Start all services on the VB365 Controller
- Verify NATS Connections
- Start and Enable all backup (copy) jobs
Easy right!
Prepare the environment
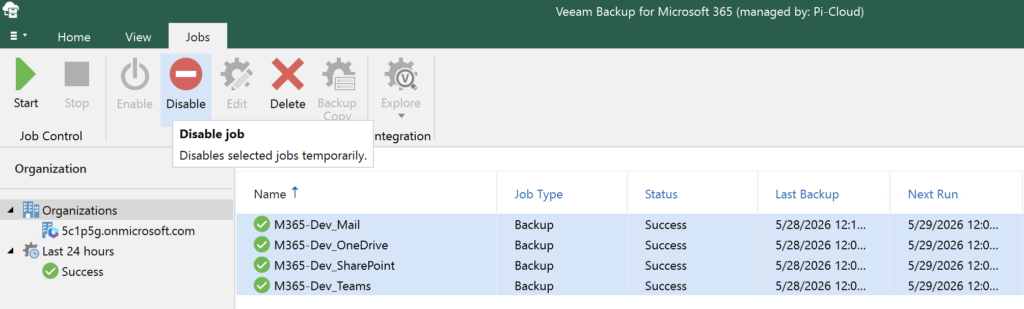
Disable all backup (copy) jobs
In a service provider environment, generally jobs are running 24/7. Therefore, we must disable all jobs to make sure that existing ones can finish, but no new jobs will start.
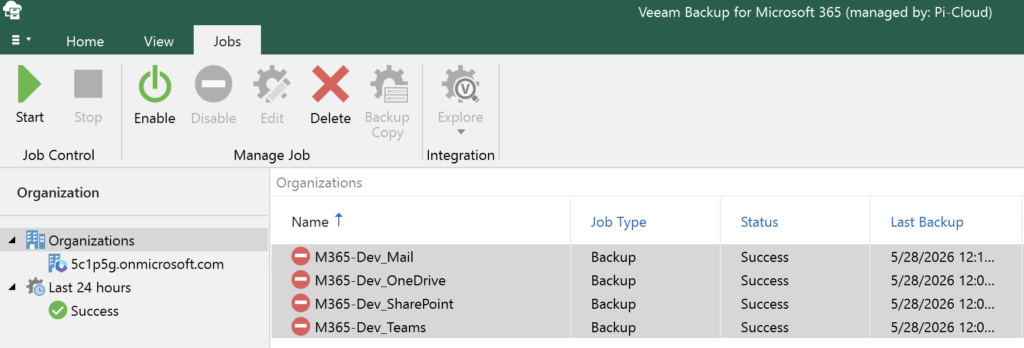
All jobs are properly disabled:
Stop running backup (copy) jobs
Disabling a job does not automatically stop the running jobs. This is good, because most probably you want to meet your SLA. Always verify the running jobs and see if you can potentially stop them or if it is better to let them finish to make sure all data is properly backed up and the restore points are complete.
Stop all services on the VB365 Controller
Once all jobs are disabled and have stopped, we can stop the Veeam Services. Either one-by-one via the task manager or open a PowerShell command prompt and run the following command:
Get-Service Veeam* | Stop-Service -Force
The Veeam Backup for Microsoft 365 stopped pretty quick, only the VSPC Management Agent took a few more seconds.
You do not really have to stop the VSPC Management Agent, only the *Veeam Backup for Microsoft 365* services are enough.
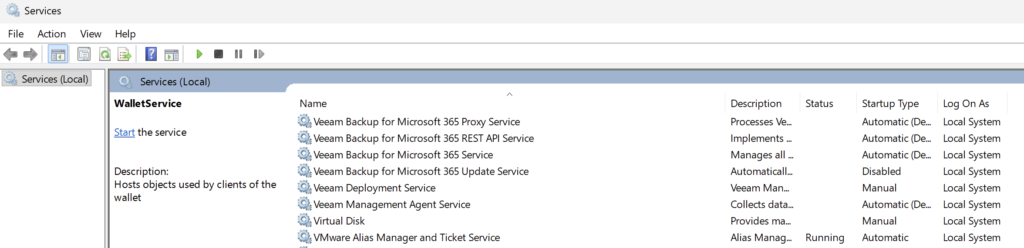
Just to be sure, check the services status and confirm they have indeed all stopped:
Stop all services on the VB365 Proxy Servers
Windows
If your Proxy Servers run Windows, then you can basically repeat the same procedure from above. Simple!
Linux
In my lab, they run Ubuntu Linux 24.04 LTS, therefore let’s go and stop the services there via SSH.
Let’s first list the active Veeam service(s):
sudo systemctl list-units --type service | grep Veeam*
We can also check the full status:
sudo systemctl status Veeam.Archiver.Proxy.service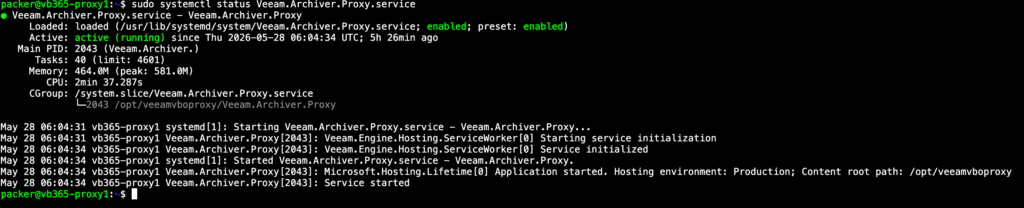
Stop the running Veeam Archiver Proxy service and verify it’s really stopped:
sudo systemctl stop Veeam.Archiver.Proxy.service
sudo systemctl status Veeam.Archiver.Proxy.service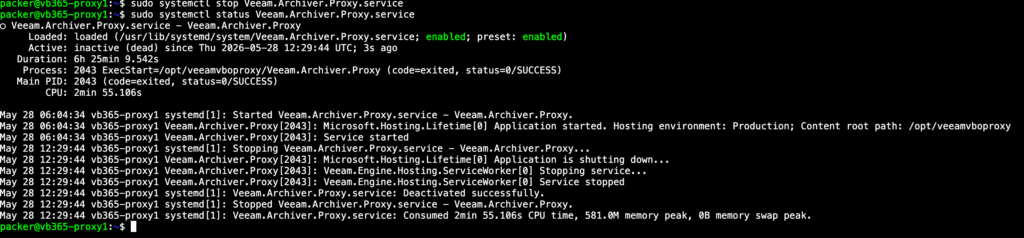
IMPORTANT: Repeat this on all the Proxies before you continue!
Verify the NATS version
Via SSH
SSH to the Ubuntu Linux machine and run the following command to verify the installed version:
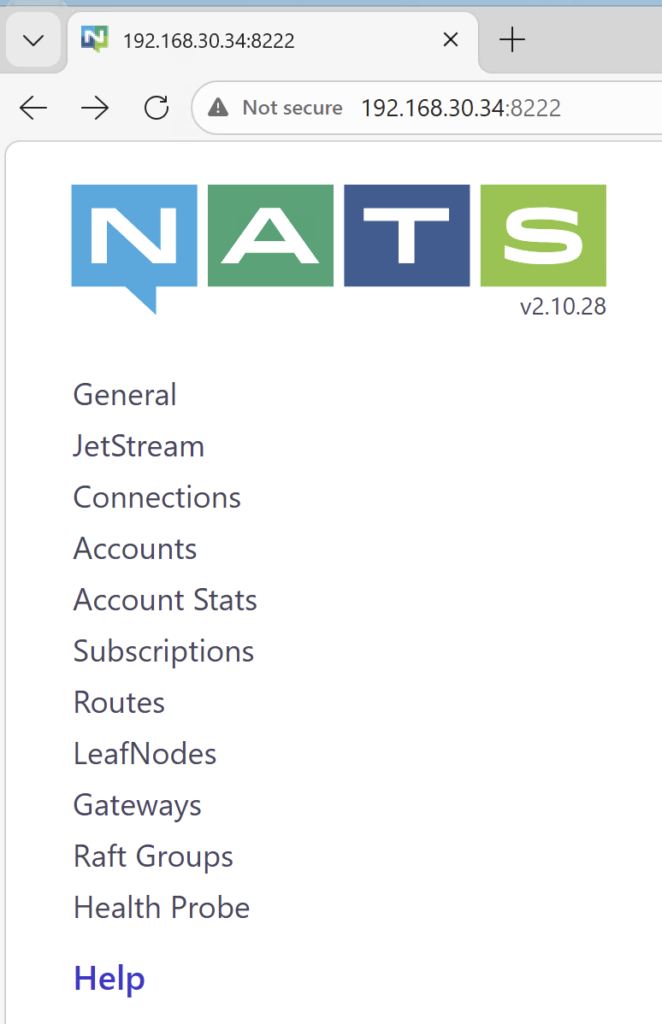
nats-server --versionIn my lab it currently shows we’ve got v2.10.28 which was the highest supported version on VB365 v8.3.x.

Via the browser
You can also go to the NATS machine on tcp/8222 and see the version through the Web UI. This also shows you some additional information such as the JetStream folder location and the connected Proxy Servers:
Stop the NATS service
Now let’s proceed with stopping the NATS service. Let’s first list the active NATS service and its name:
sudo systemctl list-units --type service | grep nats*
Check the full status:
sudo systemctl status nats-server.service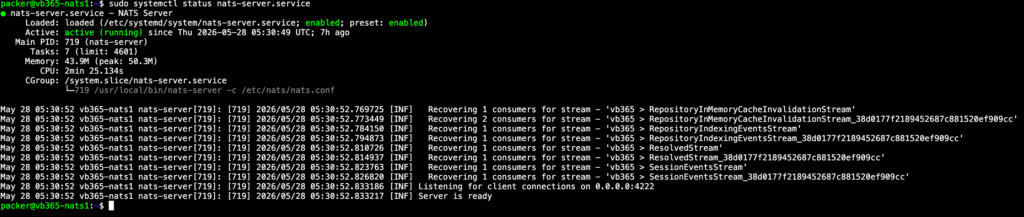
Next we stop the service and verify it’s really stopped:
sudo systemctl stop nats-server.service
sudo systemctl status nats-server.service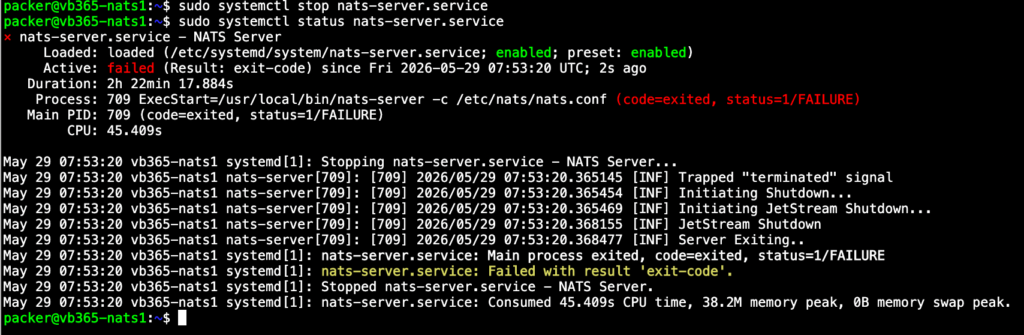
Clear the JetStream cache
Let’s also clear the JetStream cache to make sure that once we relaunch the services after upgrading, it doesn’t pick up any old stuff which could cause errors or other problems.
To find the JetStream cache location, look at the configuration file.
cat /etc/nats/nats.conf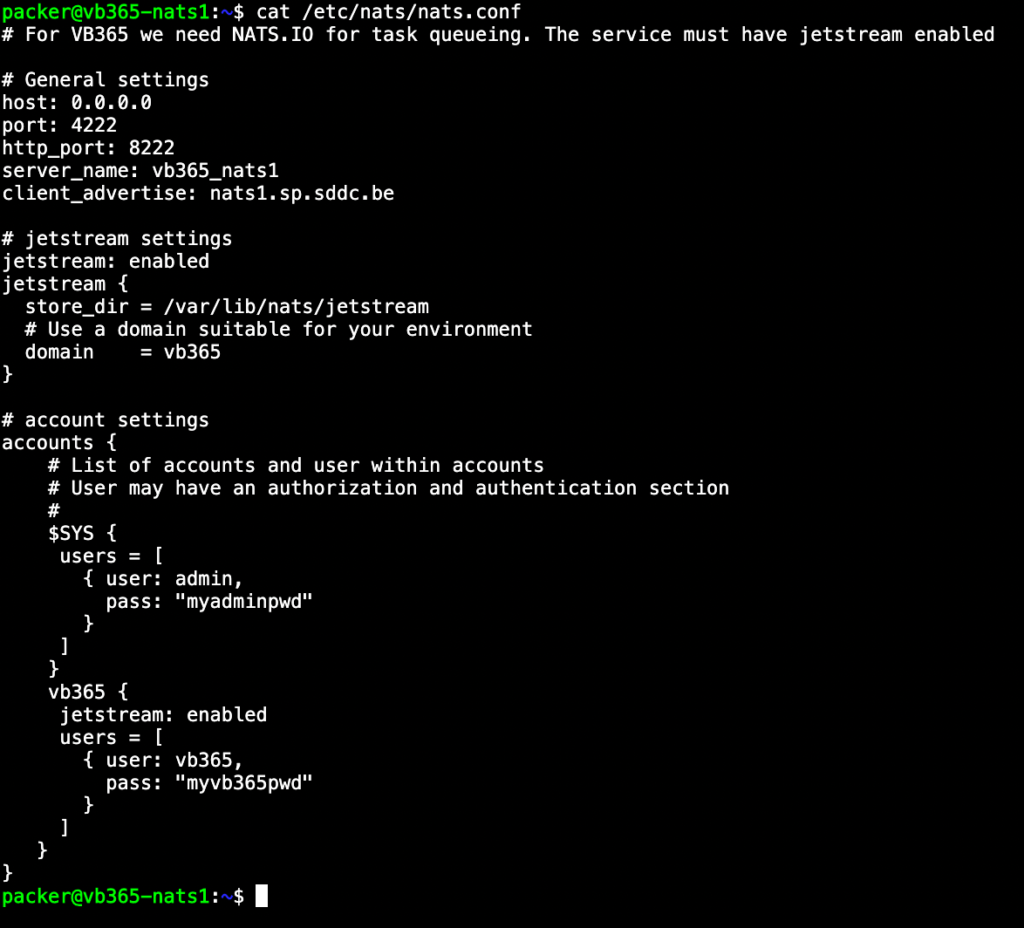
From the output we can clearly see the path is /var/lib/nats/jetstream. Let’s check what’s all in there and clear it out.
sudo ls /var/lib/nats/jetstreamIn my lab, I could see there’s some extra folders down there, but that’s fine.
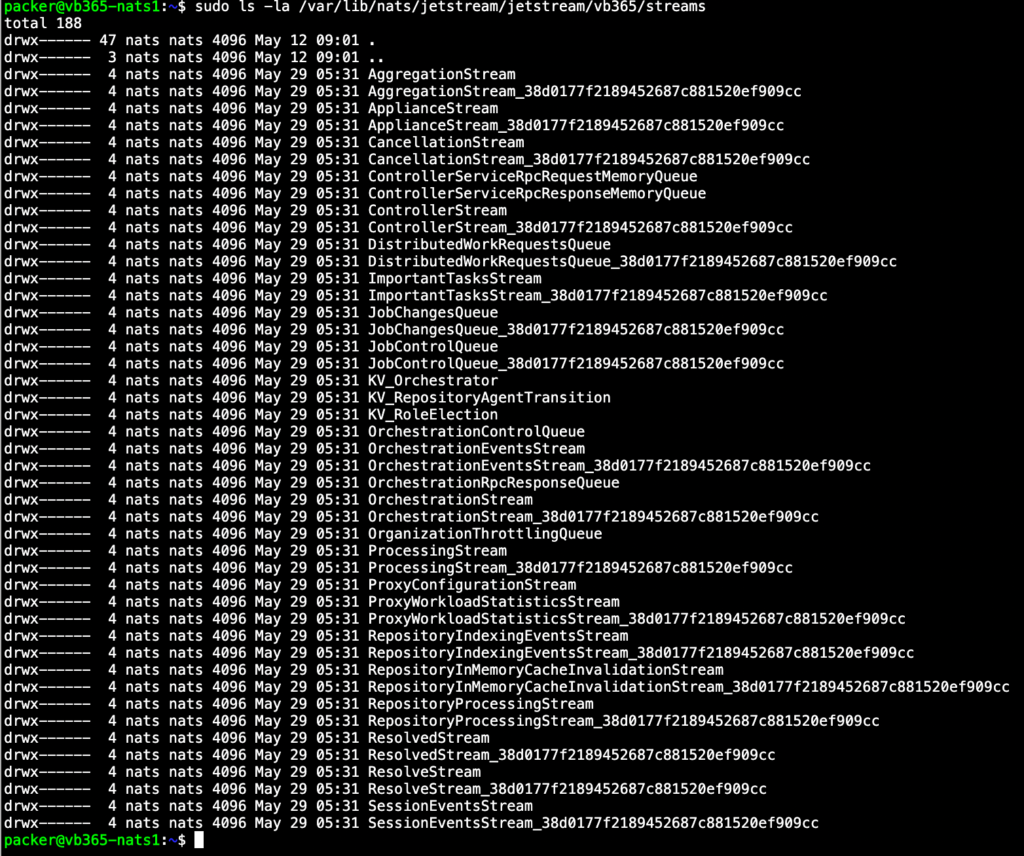
Let’s wipe out the content by simply deleting the folder. It will be recreated automatically anyway.
sudo rm -rf /var/lib/nats/jetstream/jetstream/vb365/streams
Gone!
Update the NATS service
Since VB365 v8 supports only specific versions, it’s recommended to manually deploy and upgrade the version. If you deploy it through the package manager, you risk it’ll update to the latest version which might not be supported officially.
Basically what we do here is, download the latest version and then replace the binaries. This procedure is well described here: https://docs.nats.io/running-a-nats-service/introduction/installation#downloading-a-release-build
# Download v2.12.5:
curl -L https://github.com/nats-io/nats-server/releases/download/v2.12.5/nats-server-v2.12.5-linux-amd64.tar.gz -o nats-server.tar.gz

# Unpack
tar -xvzf nats-server.tar.gz

# Upgrade NATS by replacing the binaries
sudo cp nats-server-v2.12.5-linux-amd64/nats-server /usr/local/binNote: Your installation location might be different, but generally it’s either /usr/bin or /usr/local/bin.

Start the NATS service
Everything is update so let’s start the NATS service again and verify it’s actually running the version we just installed:
# Start the NATS-server service
sudo systemctl start nats-server.service

# Verify the NATS-server status, installation path and configuration file path
sudo systemctl status nats-server.service

# Verify the NATS-server version installed
nats-server --version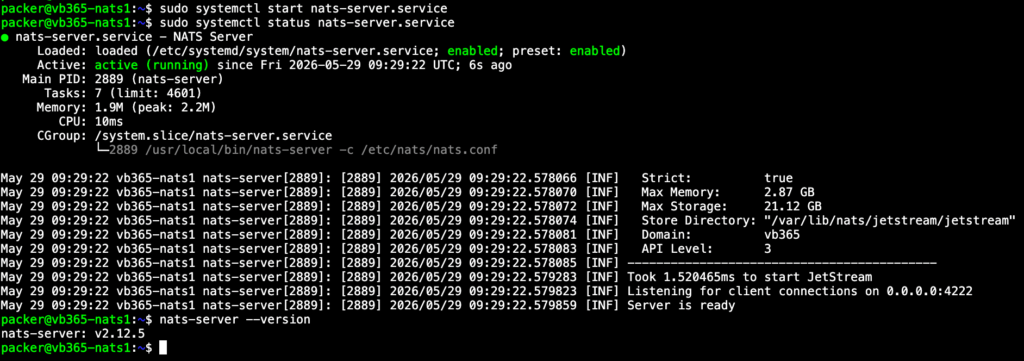
Service started and active as well as running the correct version. Looking good!
Just to make sure let’s check the Web UI as well and confirm the new version.
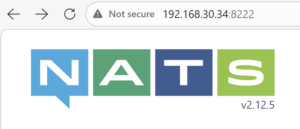
Excellent! Now we can enable all services again and make the platform operational again.
Start all services on the VB365 Controller
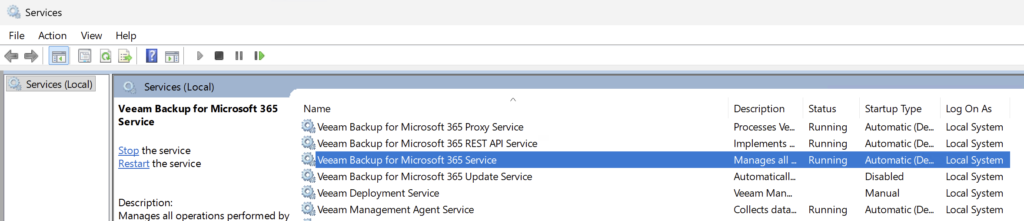
We can again use the same PowerShell cmdlet to start all Veeam services running. This is the easiest way, because it also starts the VSPC Management Agent again. If you do it manually via the Services tab, you might forget it!
Get-Service Veeam* | Start-Service -ForceAfter running the command, we can see that all required services have started again including the VSPC Management Agent.
Start all services on the VB365 Proxy Servers
Windows
Go to the Services tab again and start the Veeam Archiver Proxy service again. Repeat for each Proxy Server.
Linux
SSH back into a Proxy Server to start and verify the Veeam Archiver Proxy service. Repeat for each Proxy Server.
# Start the service
sudo systemctl start Veeam.Archiver.Proxy.service

# Verify the status is active (running)
sudo systemctl status Veeam.Archiver.Proxy.service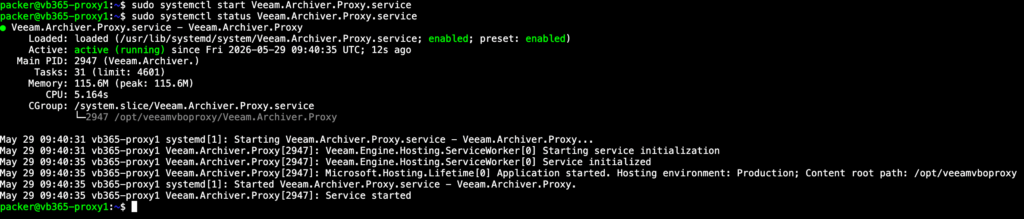
Verify NATS Connections
Before we enable and start the jobs, let’s first verify in the NATS Web UI if the connections exist.
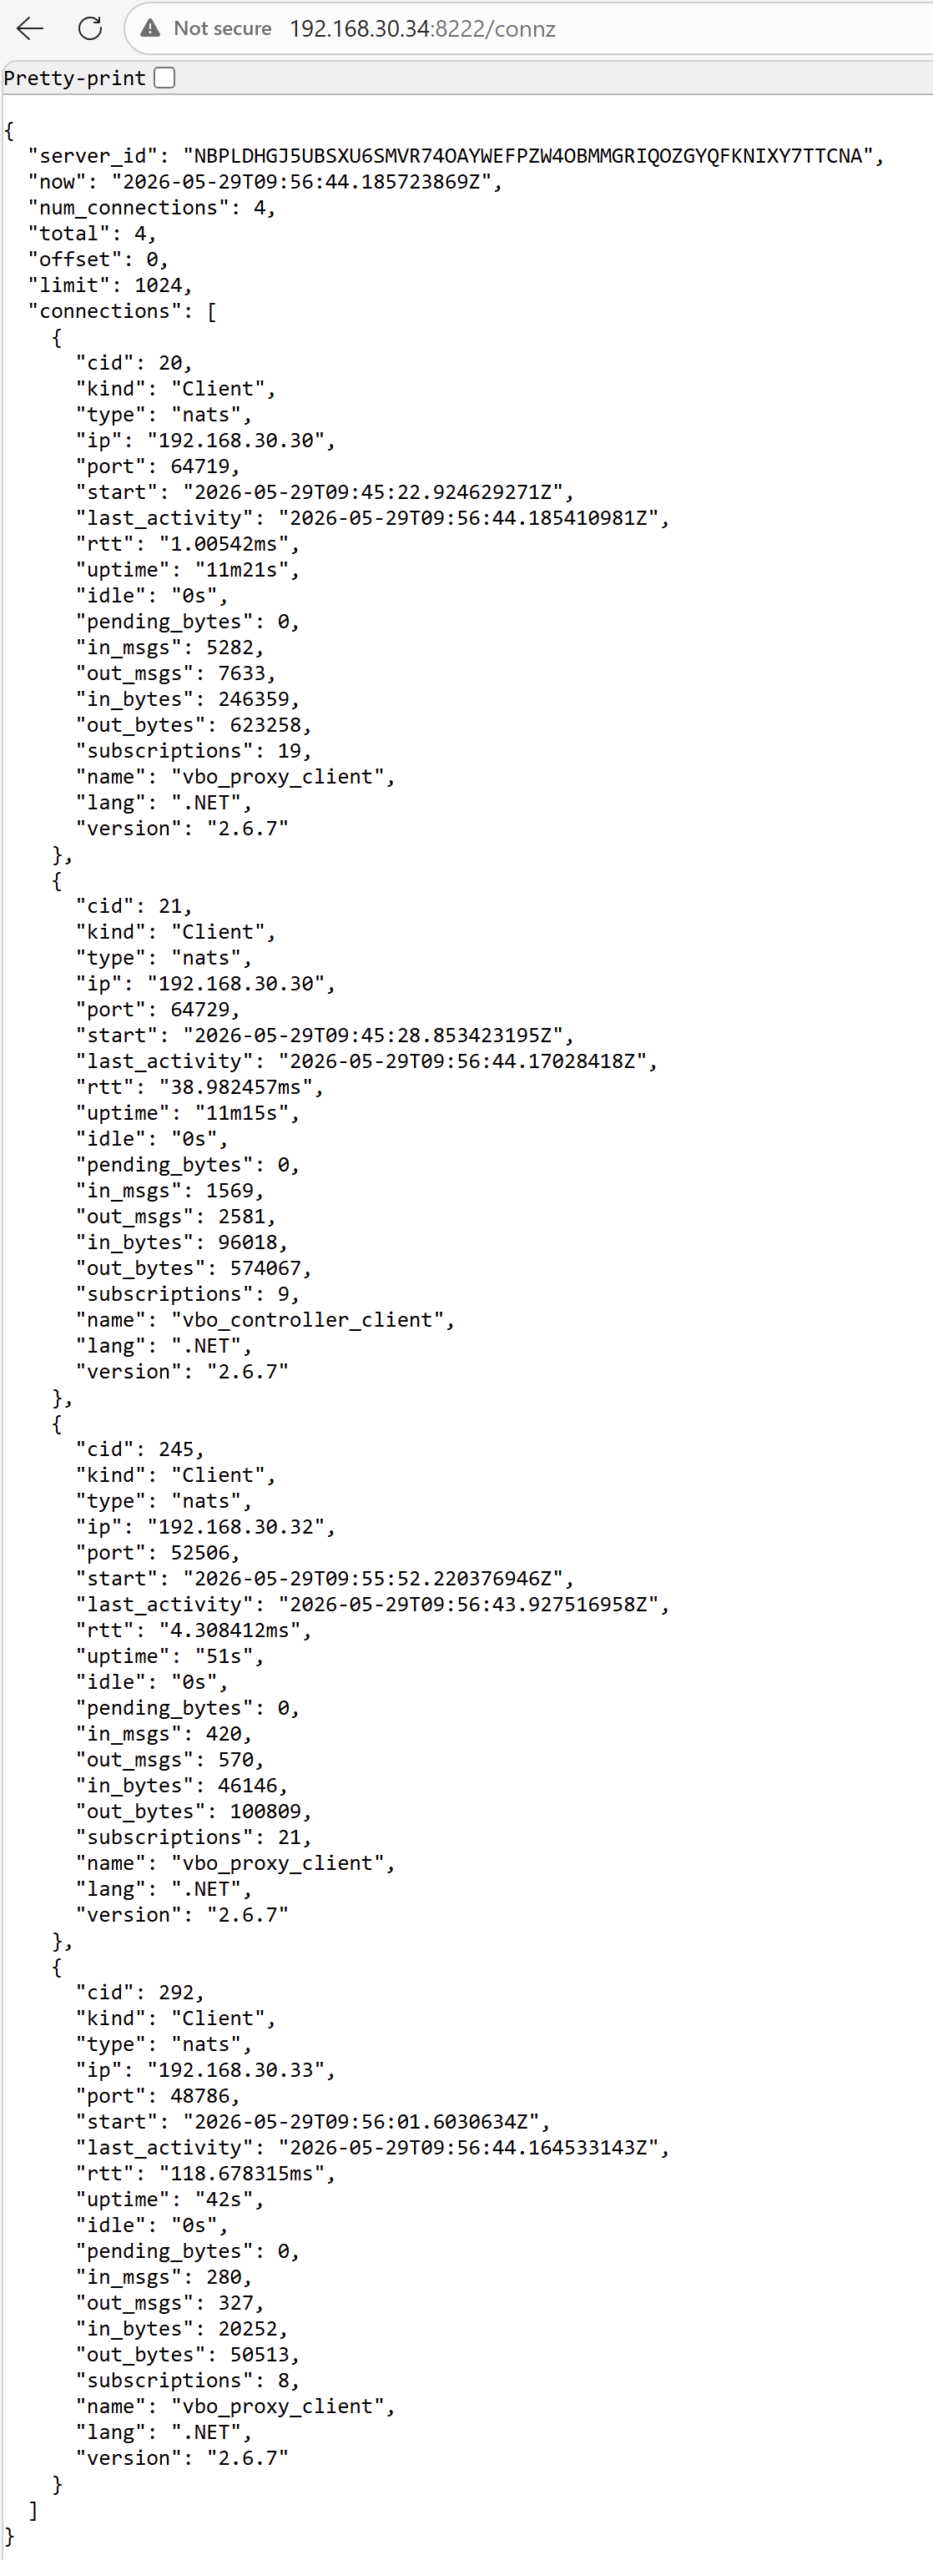
We can see there are 4 connections which is correct. You can see twice the Controller IP and then one for each Proxy Server IP.
All set!
Start and Enable backup (copy) jobs
At this point in time, we can go back into the VB365 Console and start and enable all backup (copy) jobs.
My recommendation would be to enable and start a single job to double just to make sure it’s working.
Once that’s confirmed, you can enable and start all other jobs.

The first job ran perfectly, now I will continue enabling and starting the remaining jobs!
-The end-

