In my own lab, I always try to resemble the customer and service provider situation. I simulate Remote Sites, one with Agents and one with a VBR on v12.3.2 and recently I upgraded my VCC from 12 to 13.0.1.2067. Back when v12 arrived with PostgreSQL support, I converted my VCC database from MSSQL Server on a dedicated machine (hosted together with my VSPC database) to PostgreSQL onto the same server as my VCC Server.
Why did I install it onto the same server? Basically, there is no point in separating them out from a risk point-of-view. If VCC goes down and the database service keeps running or reverse, either way VCC will be down. It is better to deploy extra (smaller) VCC pods to achieve high-availability and scalability, but that’s a topic for another discussion.
Now since I converted to PostgreSQL in the early days, it means I still have v15 installed since it’s not part of the VBR/VCC v13 upgrade. It’s a component that requires to be upgraded manually.
Why upgrade? There are several reasons:
- Security fixes
- Performance improvements
- Align with the Veeam system requirements and best practices
- As a techie, I just want to be on the latest (supported) version? 😀
System Requirements for v13
First of all, check the system requirements in the User Guide.
These days, when you do a fresh install of Veeam Backup & Replication v13, PostgreSQL v17.6 is included in the installation. Yet, it’s a good idea to upgrade to the latest version.
Since many of us upgraded from v12, that means we are with PostgreSQL v15 which is still supported. However, for the above stated reasons, let’s upgrade to 17.9 (=latest supported at the time of writing) to be “future-proof”.
The procedure below also works for regular Veeam Backup & Replication installations. Just skip the steps required for VCC.
Note: If you are already on v17.x, then you can do an in-place upgrade and this procedure is not needed!
The plan
The plan in a nutshell is as follows:
- Prepare VCC: Enable maintenance mode and block remote connections
- Perform Configuration Backup
- Stop Veeam Services
- Install PostgreSQL v17.9
- Perform Configuration Restore and switch the database engine/version
- Start Veeam Services
- Open VBR Console, check VCC and infrastructure components
- Disable maintenance mode and allow remote connections
This might seem a lot, but in my lab I was able to perform this in under 30 minutes.
Prepare Veeam Cloud Connect
Since VCC is a target, we must make sure that we’re not upgrading or changing any components while remote clients are still connecting and sending or retrieving backup data. We must properly schedule a short maintenance window to perform the upgrade.
Why? Because this is not just a simple next next finish. We will install PostgreSQL v17 next to the existing version and then make VCC swap the database engine version. This causes an interruption, therefore we must carefully stop the services.
Note: Before doing any manipulation, backup and/or snapshot the VMs first!
Enable VCC Maintenance mode and block remote connection
In the VBR Console -> Cloud Connect, go to the top and right-click. Then click on Maintenance mode:
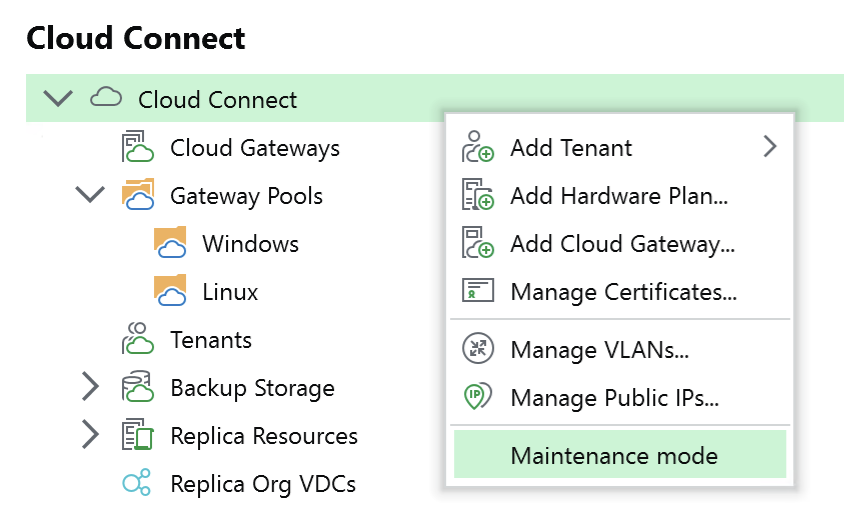
Once you hit Maintenance mode, a popup will appear. Click Yes to continue:
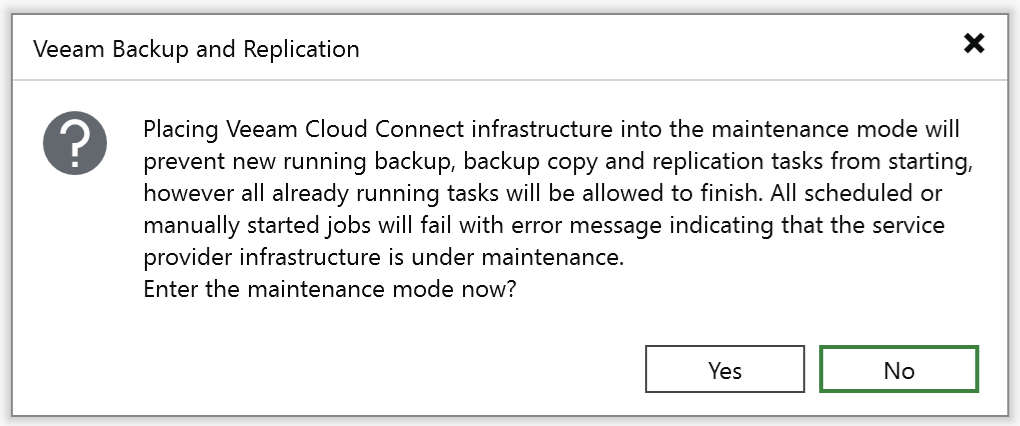
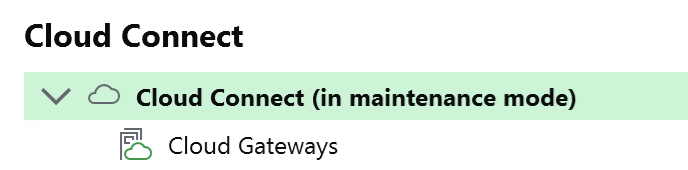
This will block any incoming backup (copy) jobs and will let running jobs complete. After a few seconds, Cloud Connect will show that it’s in maintenance mode.
Wait until those running jobs have completed and only then proceed:
Note: This does not block restore traffic. For that it’s best to go to your firewall and temporarily block TCP/UDP:6180 to make sure nobody gets in nor out.
Disable any jobs
Generally you do not run any backup jobs, but perhaps you run Tape Jobs.
It’s highly recommended to disable all jobs before proceeding to make sure the configuration backup is 100% consistent.
Perform a Configuration Backup
Before we stop any service, open the VBR Console -> Menu -> Configuration Backup.
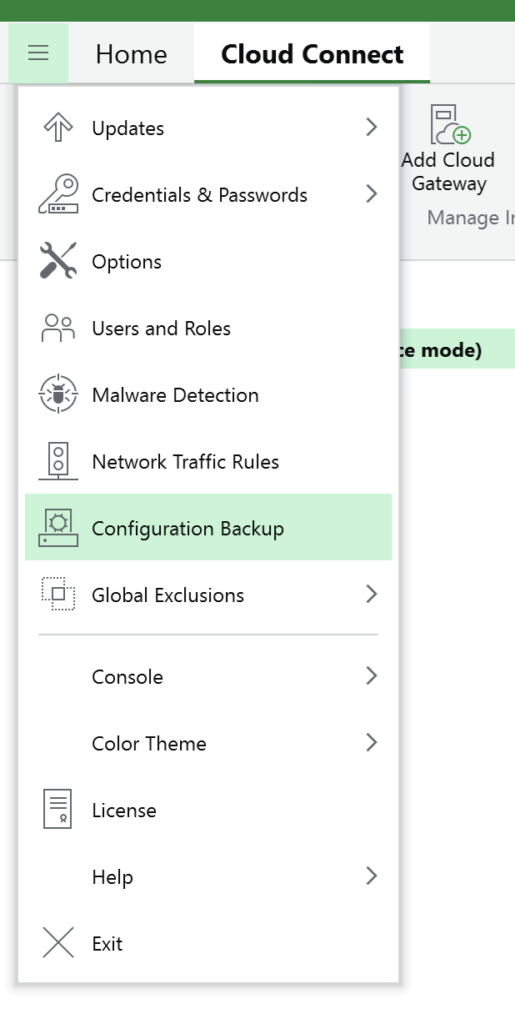
Make sure to create an encrypted backup so it also contains all the VCC Tenant credentials and infrastructure passwords. Ideally, the config backup is stored on a remote server so that you can always access it in case the local machine cannot be accessed.
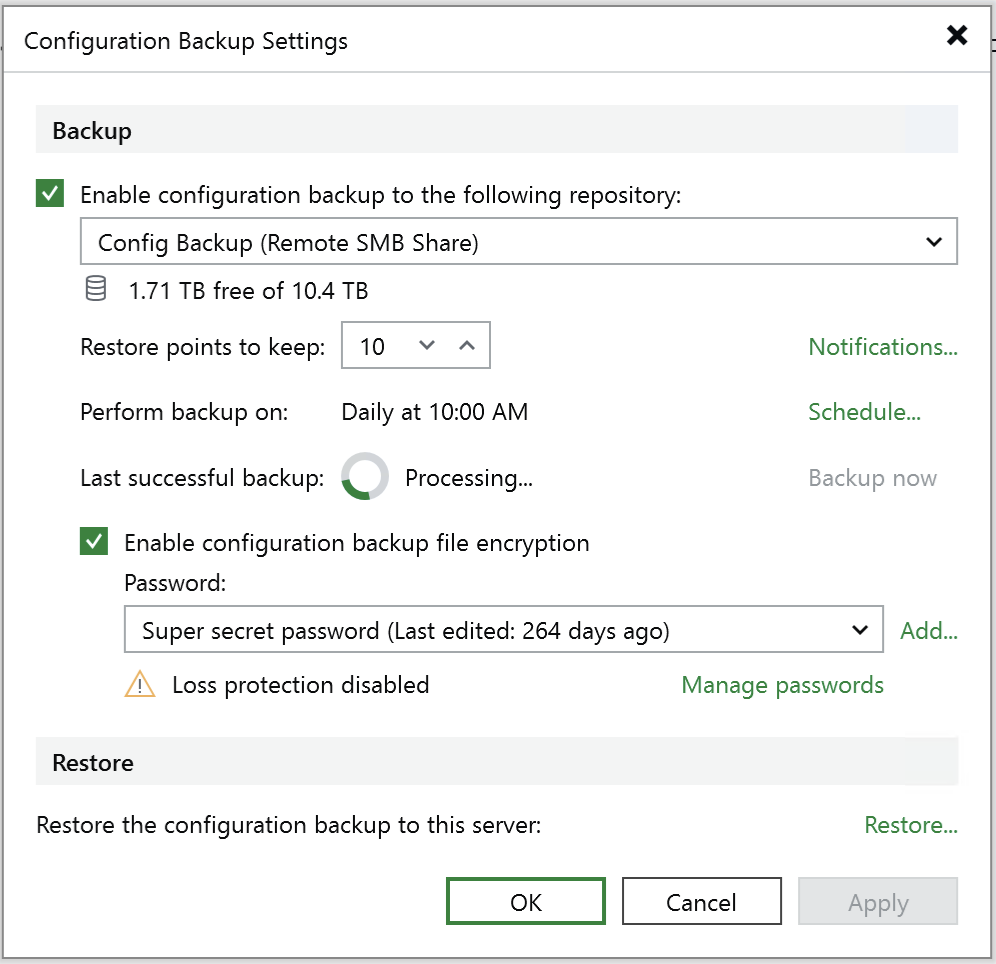
Once complete, click OK to close the screen. Then close the entire VBR Console.
Stop the Veeam Services
Once backup’s complete, we can stop the Veeam Services. Either one-by-one via the task manager or open a PowerShell command prompt and run the following command:
Get-Service Veeam* | Stop-Service -Force
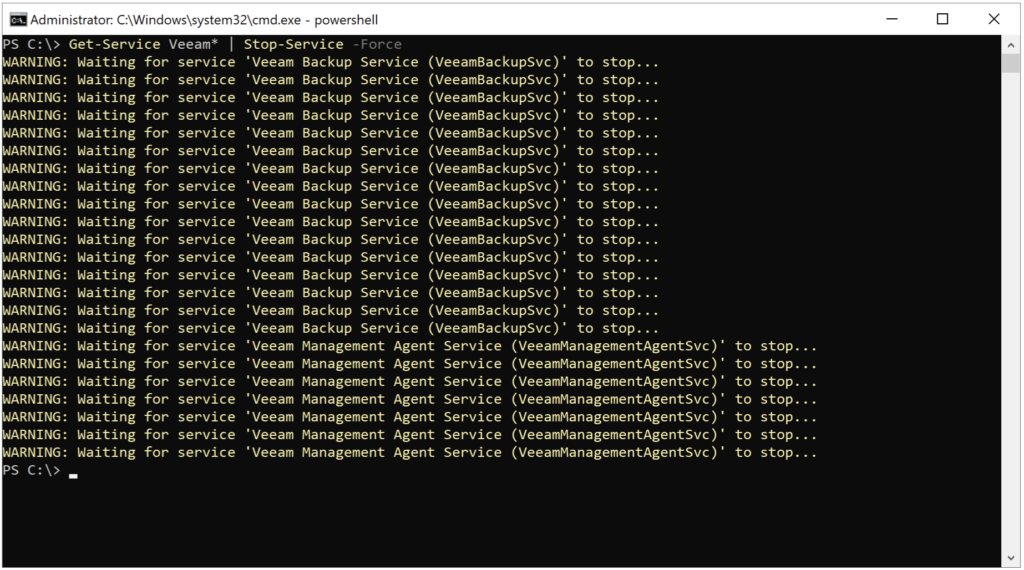
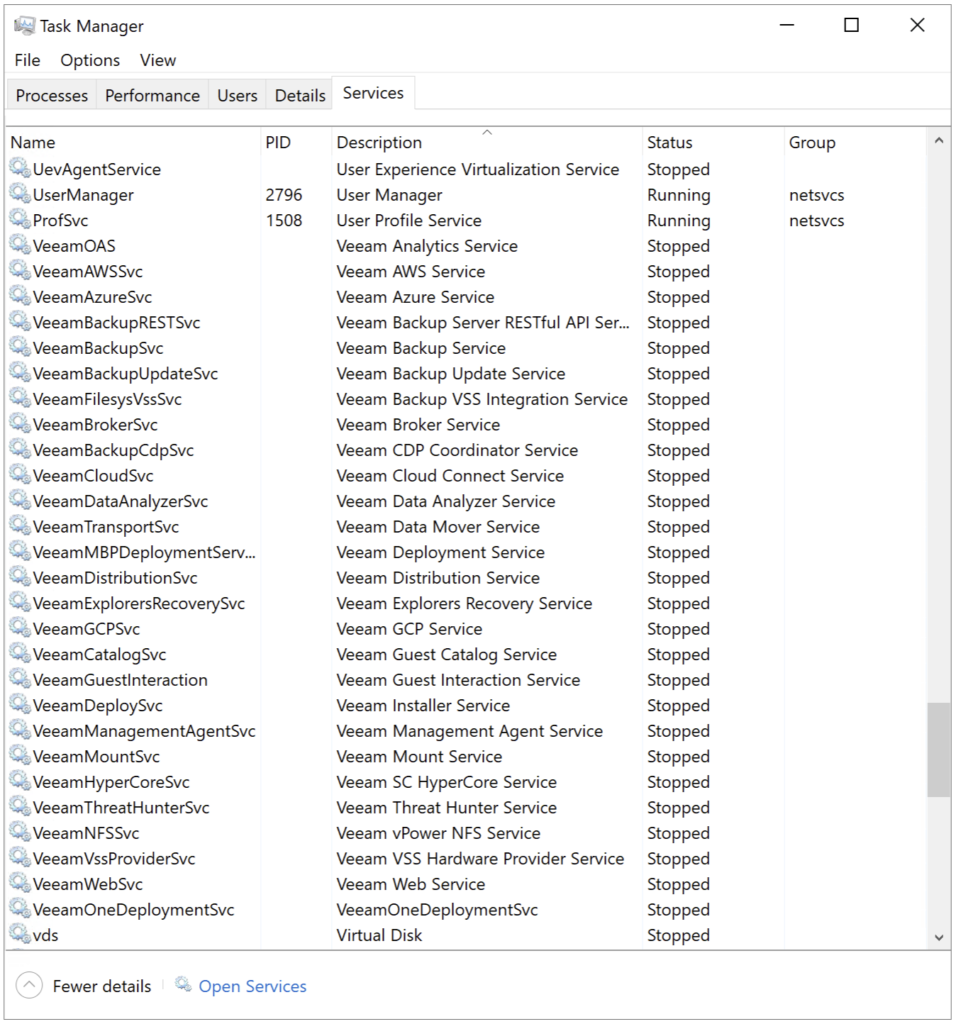
Just to be sure, check the services status and confirm they have indeed all stopped:
Install PostgreSQL v17.9
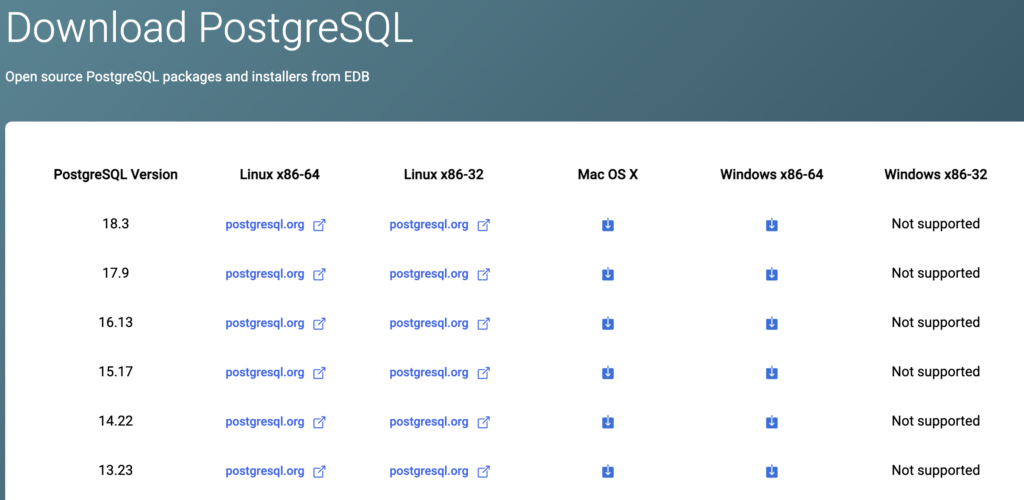
Go to the website and download the latest v17.9 version of PostgreSQL for Windows to your VCC Server.
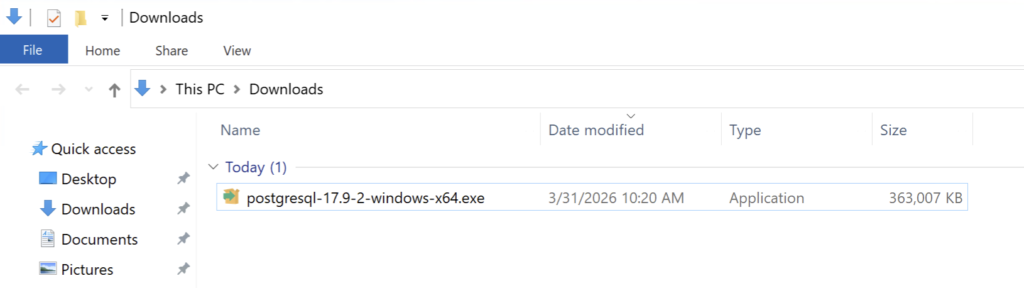
Once downloaded, double-click the exe and go ahead and install PostgreSQL v17.9.2.
On the first screen, click Next and then we can see the installation path where the database and its files will reside:

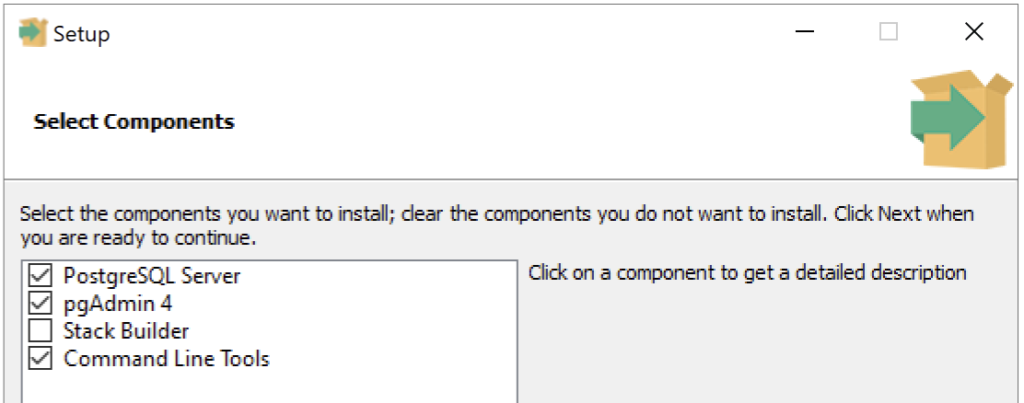
Click Next and select the components to be installed. For this lab, we’ll also include pgAdmin 4 and the Command Line Tools in case we want to check some things later.
For security reasons, it’s always best to install only the minimal components (= just the PostgreSQL Server) and deploy pgAdmin 4 onto another machine to remote connect to it.
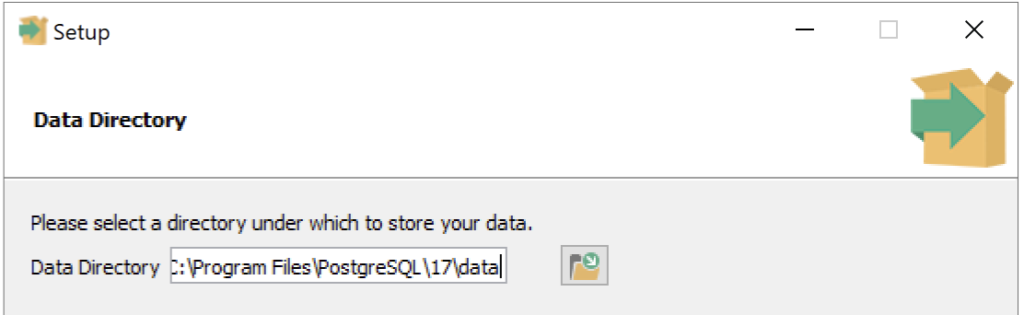
Hit Next and check the Data Directory path. For this lab, we’ll leave the defaults, but in production you might prefer a dedicated disk/volume to store the data.
Hit Next and set the password for the database superuser (postgres):

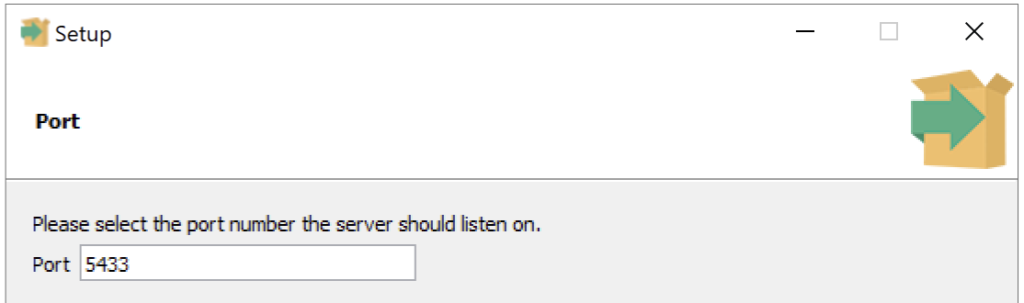
Hit Next and set the Port the server should listen on.
As you can see it’s 5433, because the default (5432) is already in use by our PostgreSQL v15 installation.
Hit Next and set the locale if needed. Then hit a few more times Next to arrive at the last page page, verify the settings and finally get on with the installation itself.
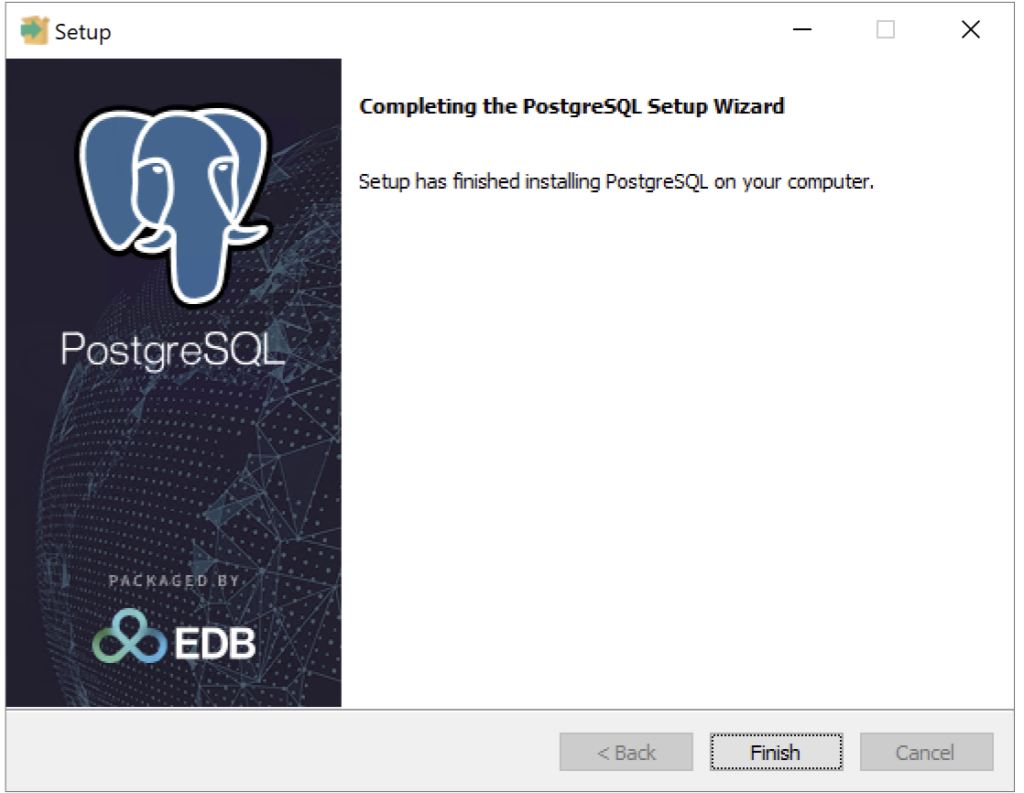
Once completed, click Finish and verify the two PostgreSQL installations/instances.
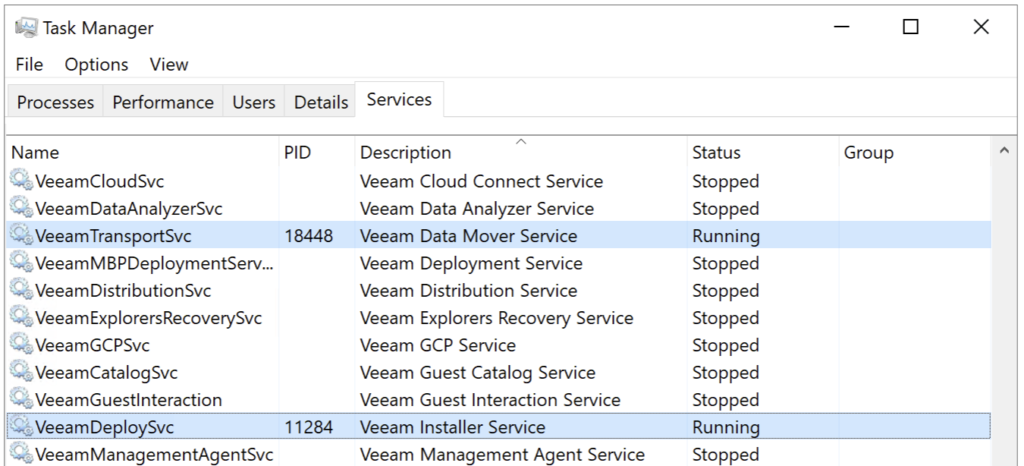
In Task Manager -> Services, we can clearly see both versions are running:

Excellent! The installation part is complete.
Note: If you had any performance/configuration tuning done previously on PostgreSQL v15, this is a good time to apply them to v17 as well.
Perform a Configuration Restore
To switch between versions, we must perform a configuration restore to the running PostgreSQL v17 instance. It’s as easy as that!
This process is well-described in the User Guide with screenshots. For convenience, I will share only the most interesting parts.
Before we start the Configuration Restore, you can either restart all Veeam Services again or just enable the Veeam Data Mover Service and the Veeam Installer Service via Task Manager.
I went with enabling just the 2 required services as it will automatically start all other required services once the configuration restore has completed.
The easiest way to start a Configuration Restore, is to open it from the Start Menu:

At the Restore Mode tab, go with the Restore option (default) and click Next.
At the Configuration Backup tab, select your configuration backup. For convenience, I copied it from the remote server to my local disk:
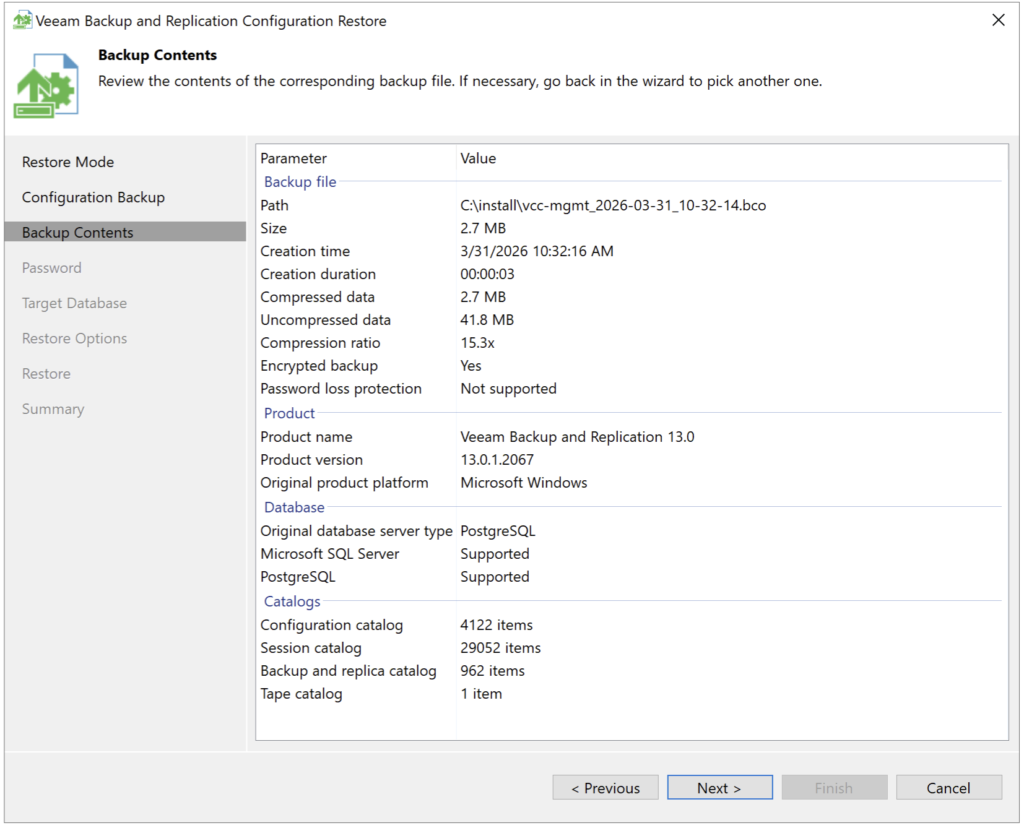
Click Next to continue.
Specify the Password and hit Validate.
Now we arrive on the most important screen as this is the place where you swap the database engine/version.
Current situation: PostgreSQL v15.x – Note the port number is 5432
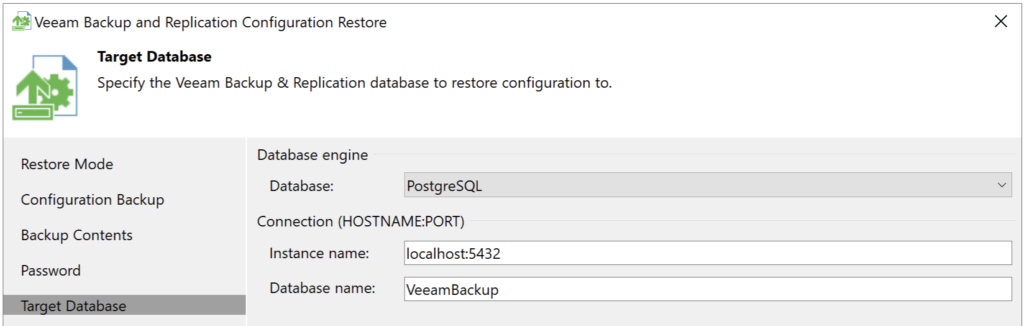
Change the port number to 5433 (remember from earlier on?) and that means we will restore to the PostgreSQL v17.9.2 we just installed.
Then set your method of authentication. In my lab I’m using the native postgres user.
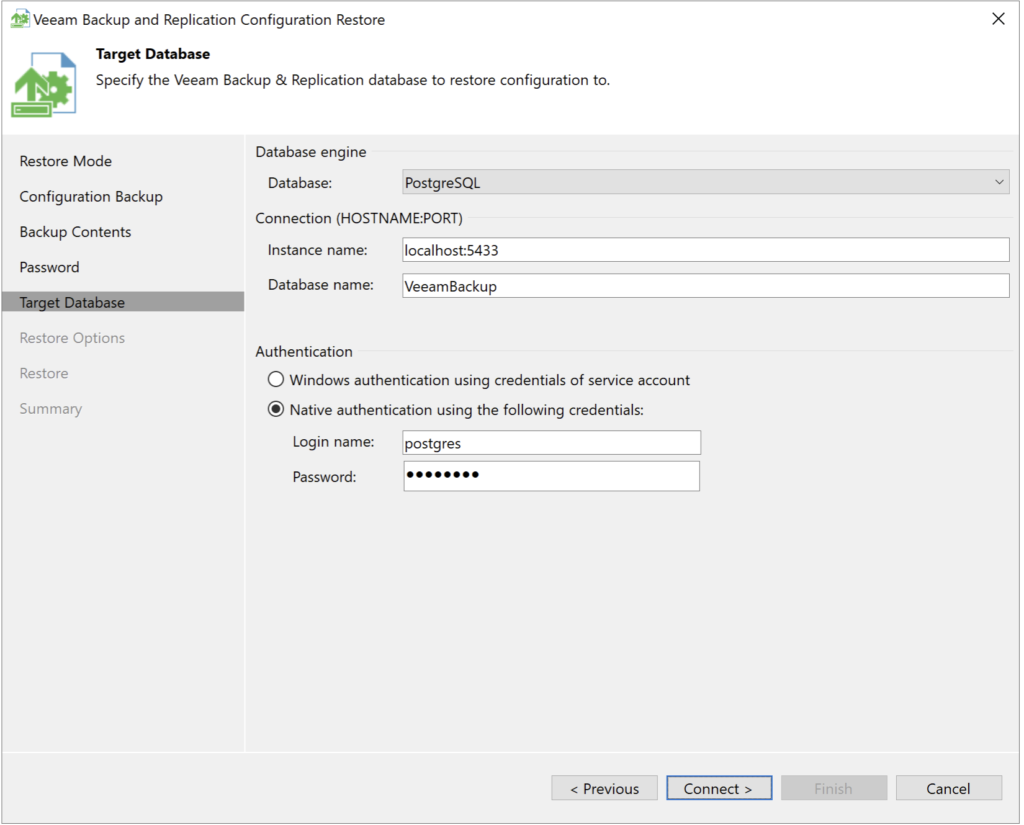
Once you hit Connect, it will validate the connection.
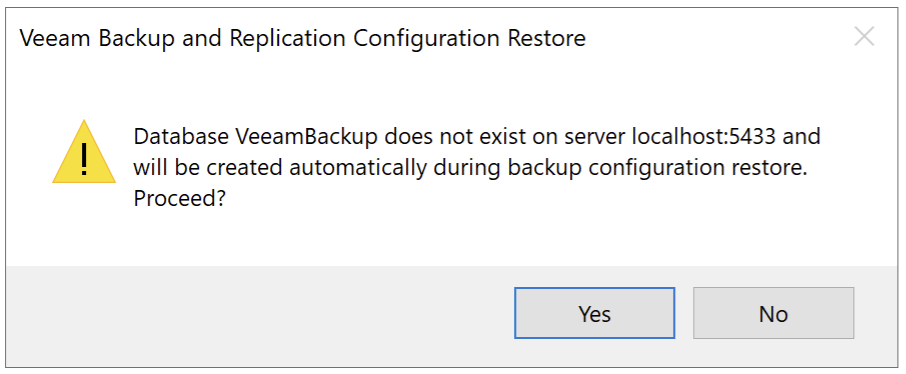
Next a window will appear stating the database does not exist, but will automatically be created upon restore. Hit Yes to proceed.
Then continue the wizard until the end and let the restore do its magic.
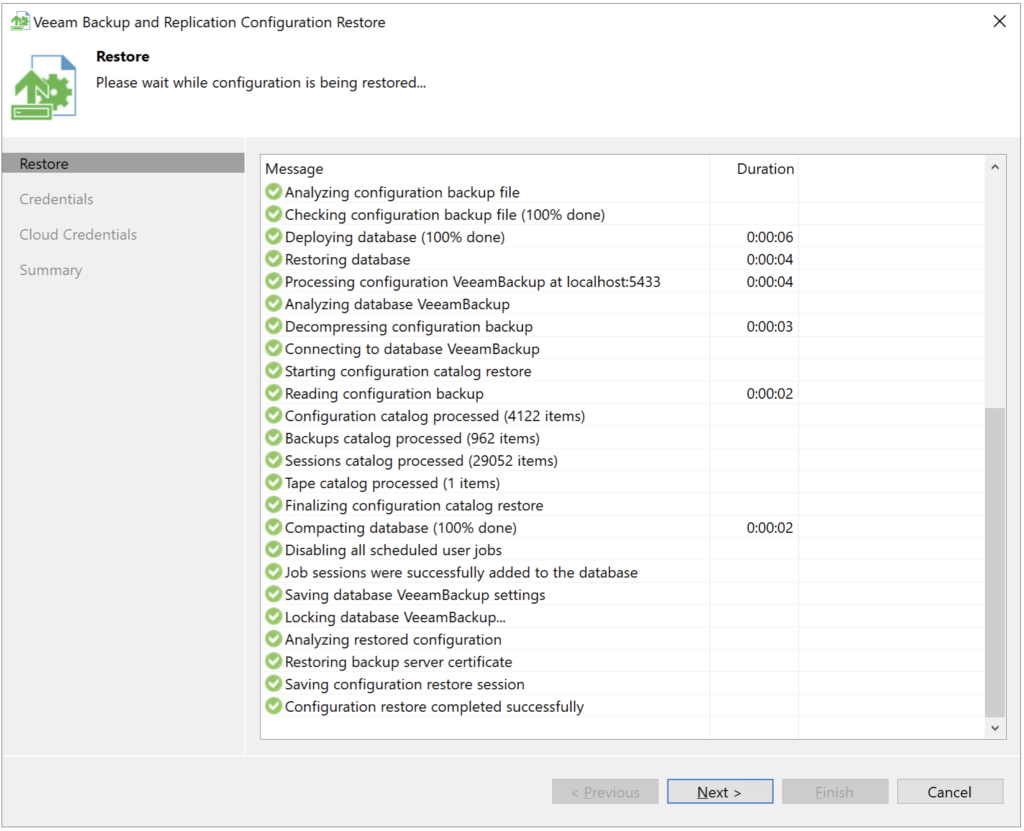
Hit Next to verify the credentials if needed and the Configuration Restore will now also start the remaining Veeam Services.
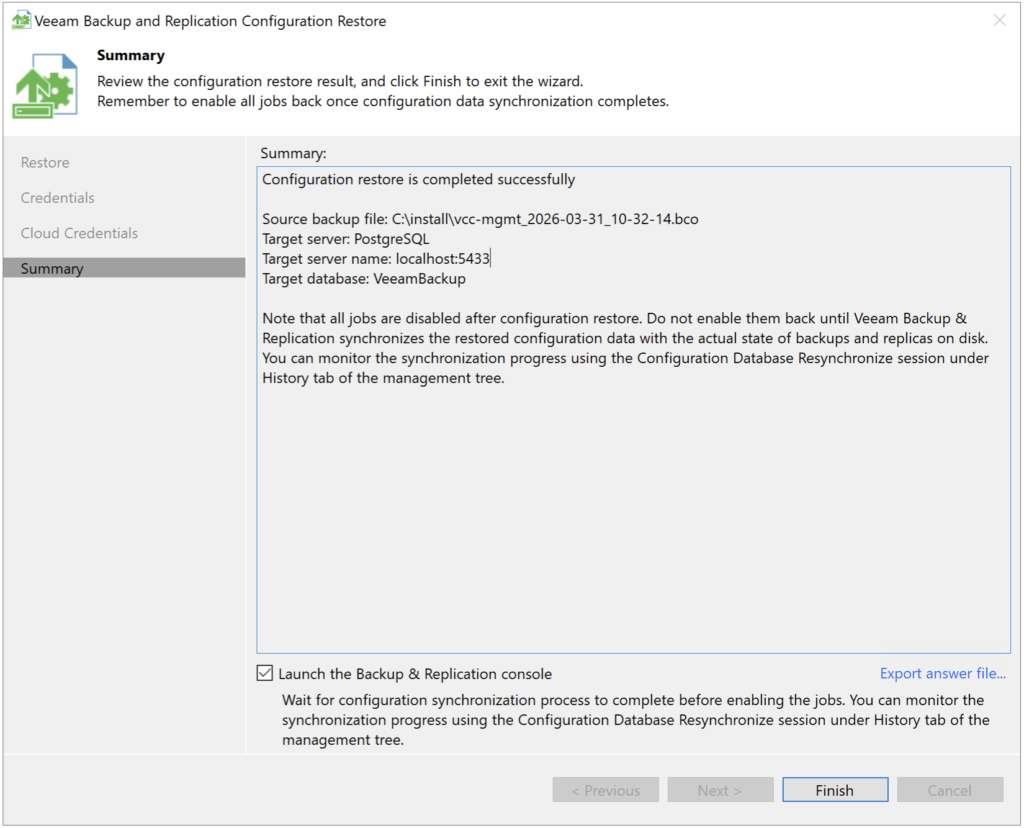
Beautiful! Veeam Backup & Replication is now using PostgreSQL v17.9.2!
At this point, if you have multiple VCC Servers deployed, it’s a good idea to Export the answer file (bottom right). This will export an unattended.xml file that can be used to automate configuration restores.
Verify Cloud Connect
Hit Finish to open the VBR Console. Then verify your Backup Infrastructure, check if all your Backup Repositories are there, Tenants have been restore with their passwords etc. Once all has been verified, open up VCC to the public.
Adjust the new PostgreSQL Instance configuration
Since this is a new PostgreSQL installation, we must not forget to run the PS-cmdlet to optimize its performance.
Follow the short procedure described in the User Guide and restart the PostgreSQL instance for the new settings to take effect. After that you’re all set!
(Kudos to Baptiste Tellier for reporting this missing, but crucial part!)
Disable VCC Maintenance Mode
In the VBR Console, go back to the Cloud Connect tab and right-click on top. Click on Maintenance mode to disable it.
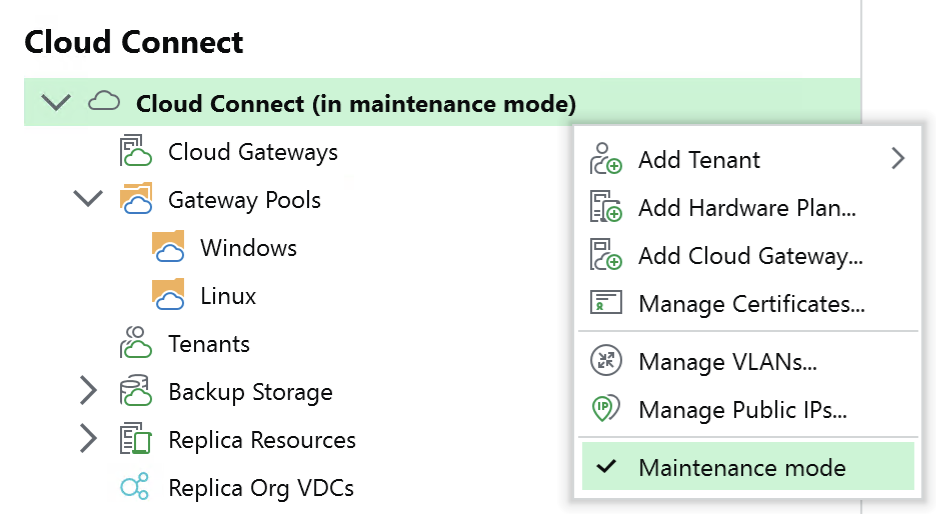
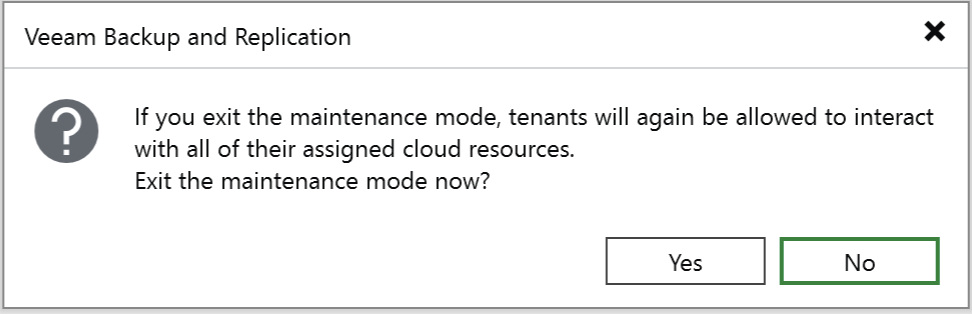
Another window will appear to ask you to confirm. Click Yes to exit Maintenance Mode:
Now go back to the firewall and allow again traffic on TCP/UDP:6180.
A good way to verify connectivity is to check with your test Tenant (if available) and see if you can connect to VCC and perform any rescans or restores.
Remote clients can now again send backups, backup copies and perform restores!
Clean-up
Let’s not forget that at this moment the “old” PostgreSQL v15 is still running. Some tasks we can perform next are:
- Stop the PostgreSQL 15 service
- Uninstall PostgreSQL 15
- Remove the local installation files and database files
Hope you enjoyed this and thank you for reading!

